
DIY: Edible Graduation Cap
Graduation season brings a lot of cake baking opportunities! It is always fun to add a 3-dimensional element to a graduation cake. Common adornments include diplomas and graduation caps. This step-by-step post shows you how to make your own edible graduation cap using gum paste, fondant, Rice Krispie treats and a jumbo muffin tin.

Step 1: Make the Cap
For this you'll need a jumbo muffin tin lined with parchment paper strips and greased. Put your Rice Krispie treat mixture into the cavities. The parchment paper strips make it easy to remove the Rice Krispie treats. Now your caps need some time to set up. You may let them sit out and rest for awhile, or you can place them in the fridge or freezer to speed up the process.

Step 2: Make the Top
While the hats are setting up, it is a great time to make the top of your cap. For this you'll need gum paste because it dries rock hard. You can make your own using fondant and Tylose powder, or you can use gum paste. Roll out your paste and cut out a 4x4 square. Use this template for a perfect 4x4 square.
Step 3: Remove your caps, prepare them and cover them
Now it is time to remove your caps from the muffin tin. If you have greased your pan well and have the little pull strips in place, this should be as easy as grabbing the strips and pulling upward. If they have stuck, use a knife to gently remove them. Lay each cap on top of a sheet of parchment paper. Use royal icing to cover each cap. This will give you a smooth surface to cover with fondant.


Now, each cap is ready to be covered with frosting and fondant. Cover the cap with royal icing and cover the cap with fondant. Smooth the fondant and cut away the excess.

Step 4: Make the Tassel
When I was in graduate school, my program had an August completion date. As a result, we missed walking through a graduation ceremony in May, but we were told that we could participate in the December ceremony. I didn't care about walking through, but I wanted my tassel. Years later I still remember raising my hand in class and asking if we could get our tassels! The entire class chuckled as no one was very concerned about this small tidbit. I don't even remember if I ever got a tassel, but I think about that story every time I make a fondant graduation cap. For this you need to roll out a mixture of 50% gum paste and 50% fondant. You want your tassel to remain pliable for placing, but be stretchy enough that it rolls out well. Once you have made this mixture, roll out 3 equal sized ropes. You will braid these 3 ropes together to form your tassel.
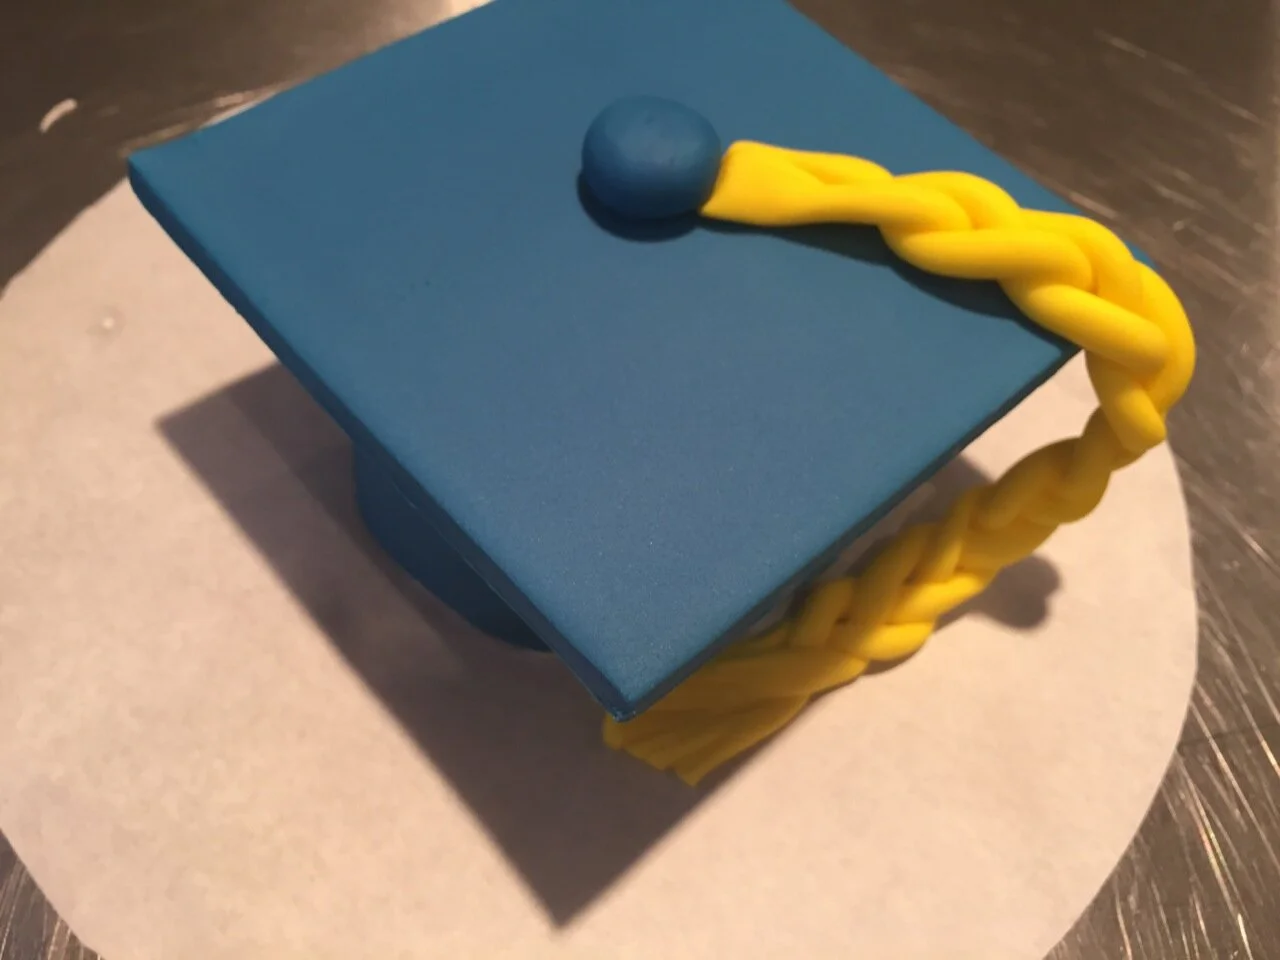
Step 5: Assemble
You will need to make sure that the top of your cap is fully hardened before this step. Once it has hardened, use a bit of royal icing on the top of the cap and affix the top of the cap onto the cap itself. Then, lay your tassel on the top, draping it down nicely over the side. Finish it off with a little button of blue fondant to match your cap and top. Now you have a completed grad cap that you can use as is, or adorn with royal icing to decorate it for the graduate's cake.