Fairy Cake
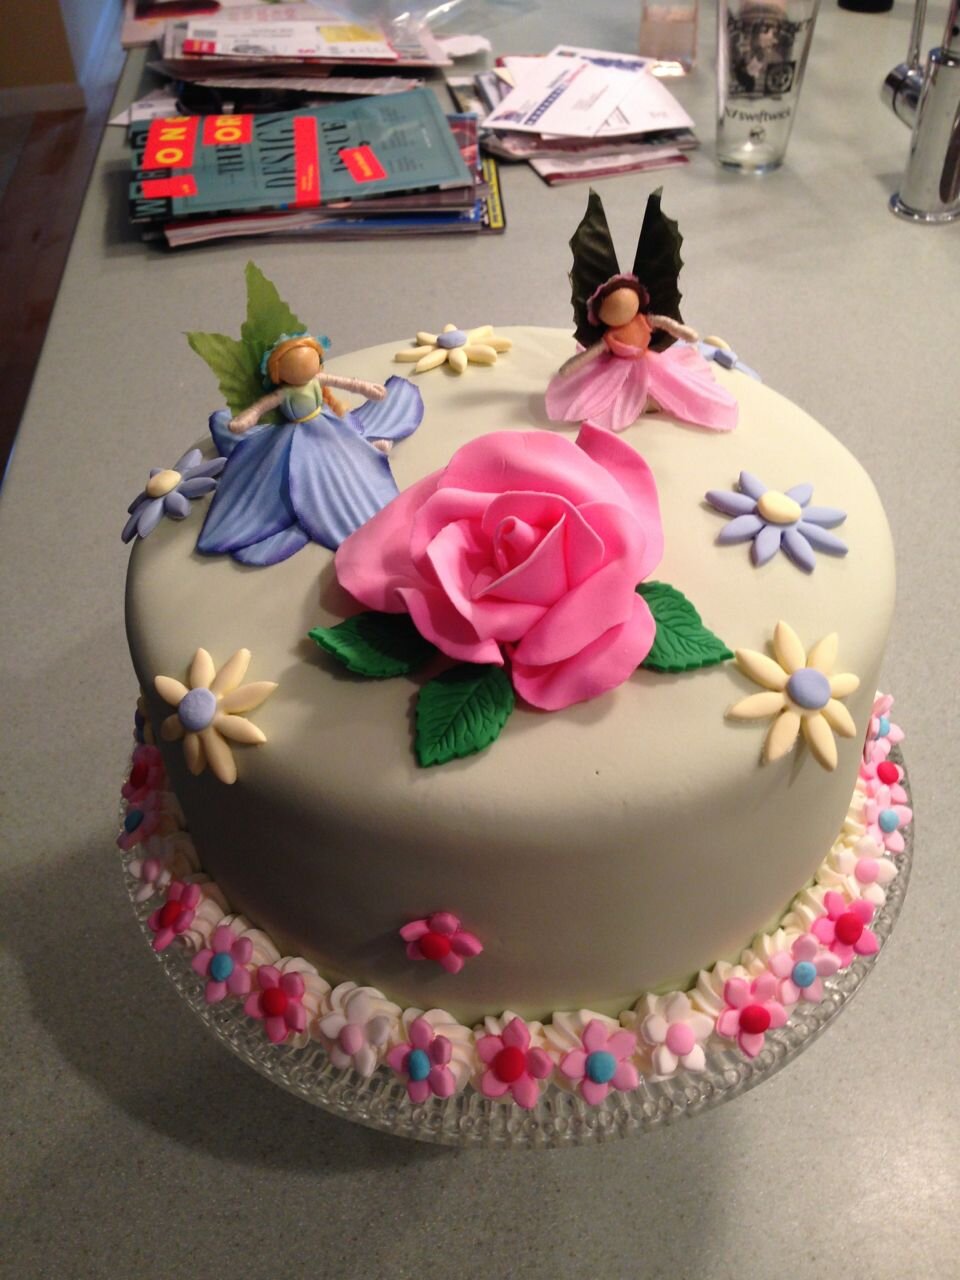
What little girl wouldn't love a beautiful fairy cake? I recently had the opportunity to make a lovely cake for a sweet 5 year old. Her grandmother was so excited to order the cake, and she even had a special cake pedestal for display. She sent pictures for inspiration, letting me know that she really liked the green color and the rose from the first cake, and how dainty the white cake looked. Neither of us was too keen on the handmade fairies, so we opted to use some lovely fabric fairies instead. She had plans to buy dainty fairies for the centerpiece, and we chose two of them for the cake.
Preparing the Flowers
I made the large rose and all the little flowers several days in advance. I actually used the cake pans as a surface for them to dry on, which also helped me layout the design of the finished cake. This is a nice, stress-free way to prepare a cake like this. The actual cake itself comes together quickly when you prepare all your adornments and lay out the plan in advance.
Putting it All Together
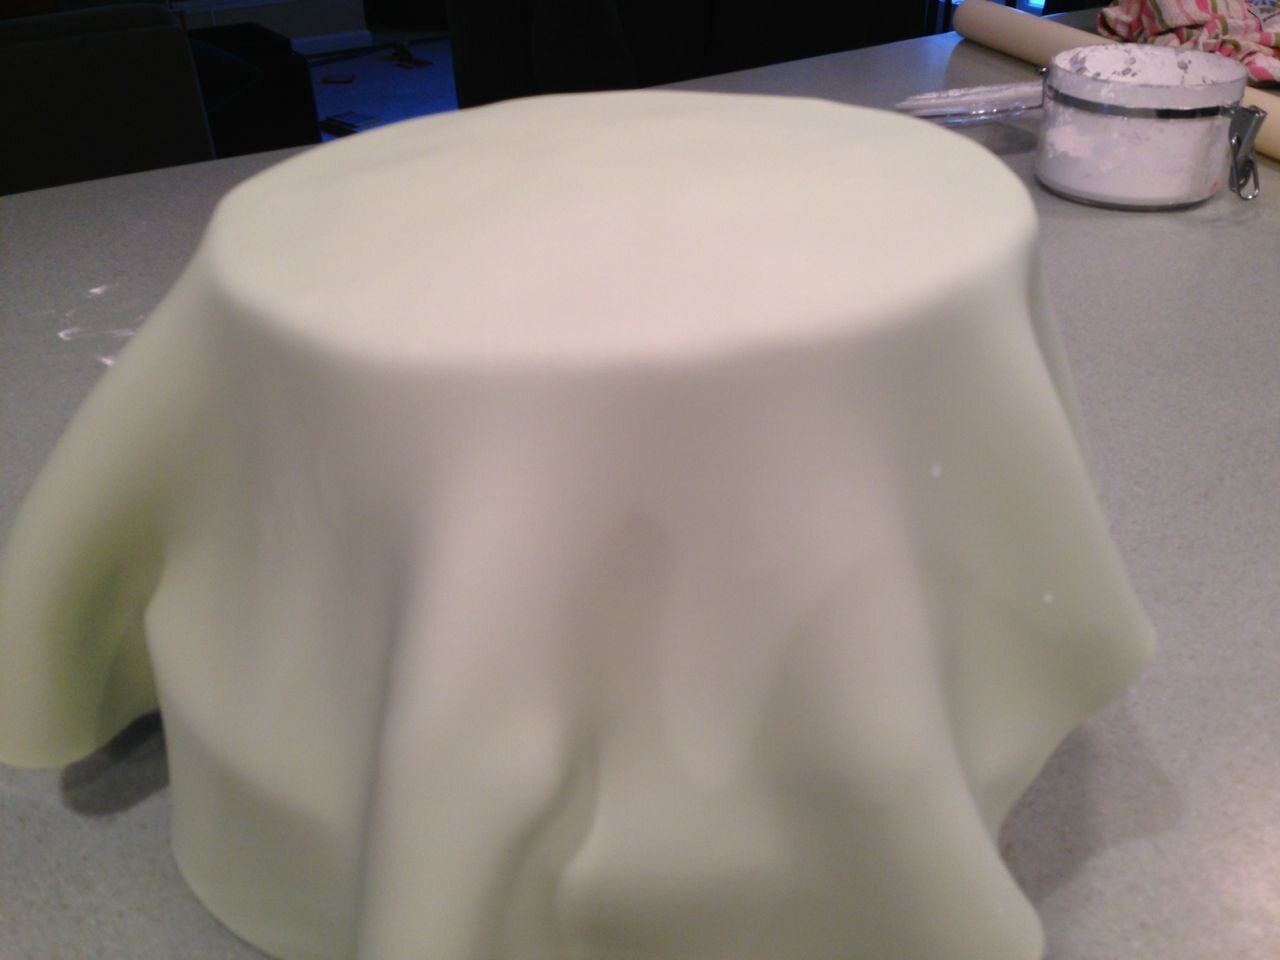
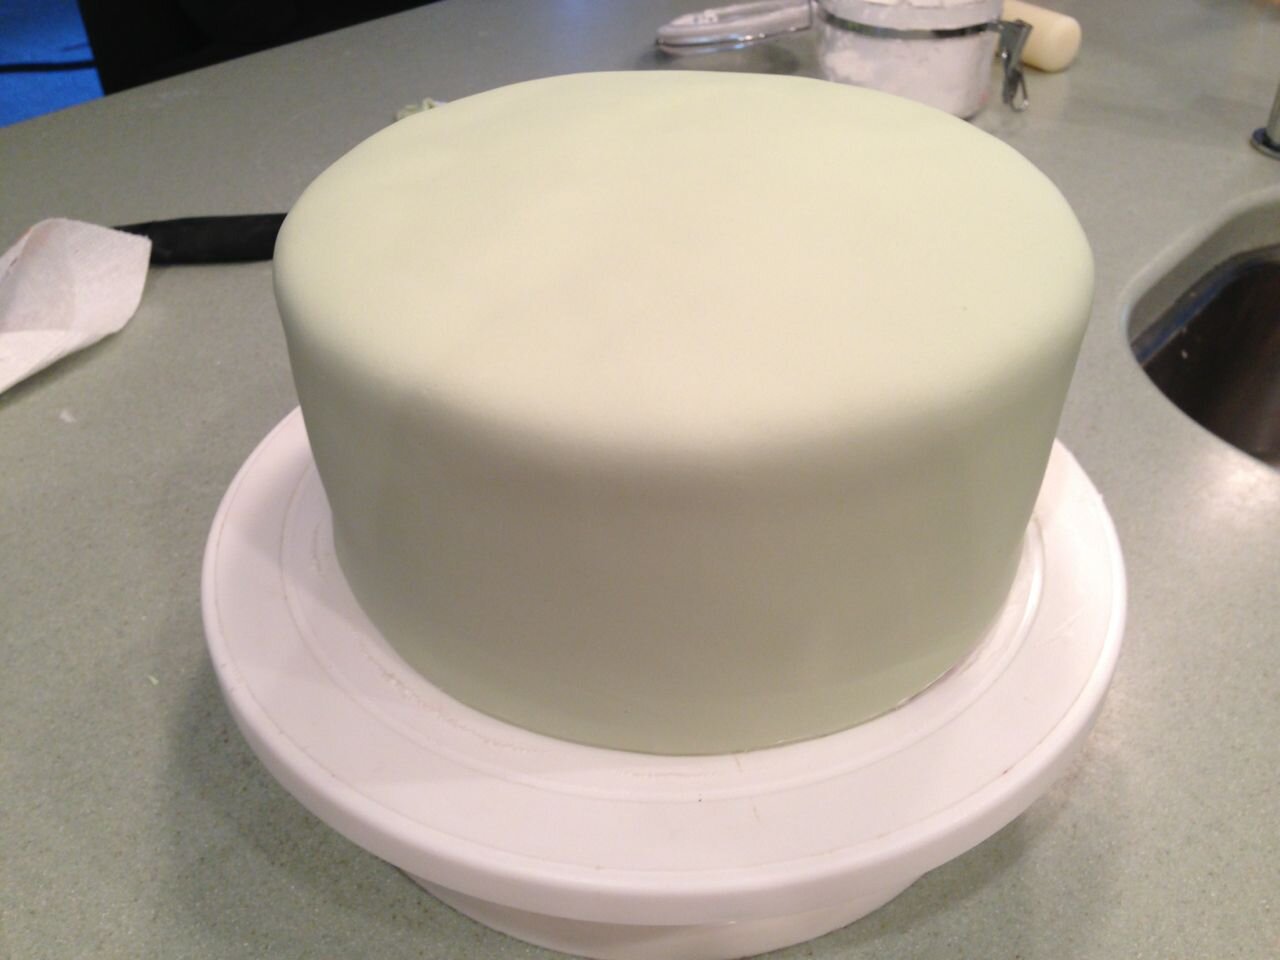
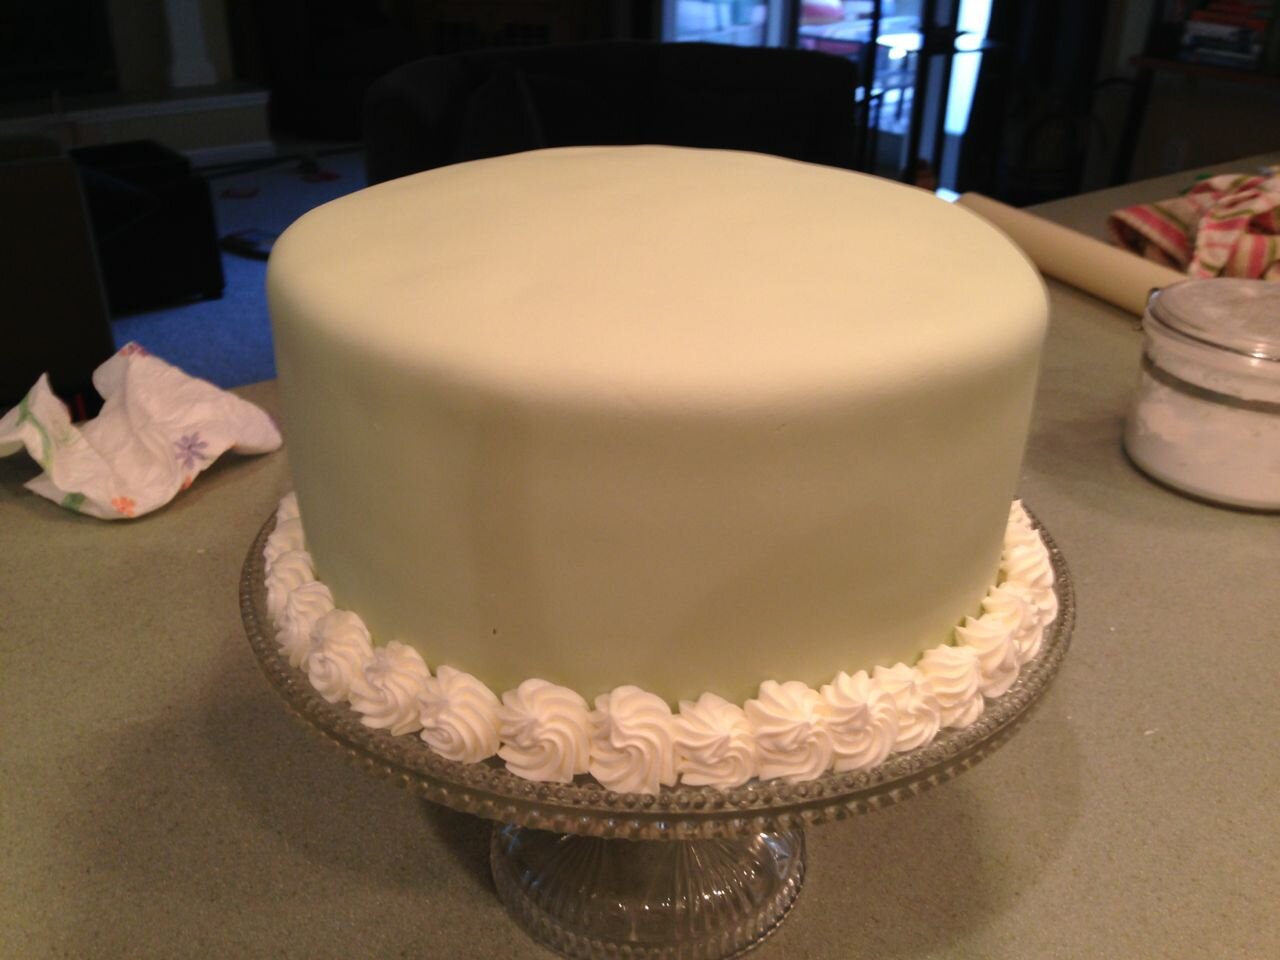
After the cake was prepped, it was time to put the fondant on. When I first started working with fondant, I was really timid with cakes. Now, after lots of practice, fondant is mostly fun to put on. It helps to have a perfectly prepared cake. Don't plan on using the fondant to cover flaws; you want to have a lovely surface to drape it over. The photos below show how the fondant went on this cake.
