Finding Dory Cake
I was asked to make a Finding Dory cake for a 5th birthday party. The birthday boy loves the color orange. His favorite characters from the movie are Hank, Destiny, Dory and Ray. His mom said that while he'd have liked to have ALL the characters on the cake, he would choose 4 of his favorites. My challenge: to make a fun cake with these 4 characters!
How to Make Finding Dory Characters
It was time to break out the fondant and have some fun! I found images of each of the characters online and used those as models. To help you make your own Finding Dory characters out of fondant, I include many pictures of the steps I took. I spent the most time taking pictures of Destiny. Of the 4, Destiny was the most fun to make. I think it was the great personality in the wide smile and big eyes! I have some directions below that can help you give this a try for the youngster in your life!
Hank
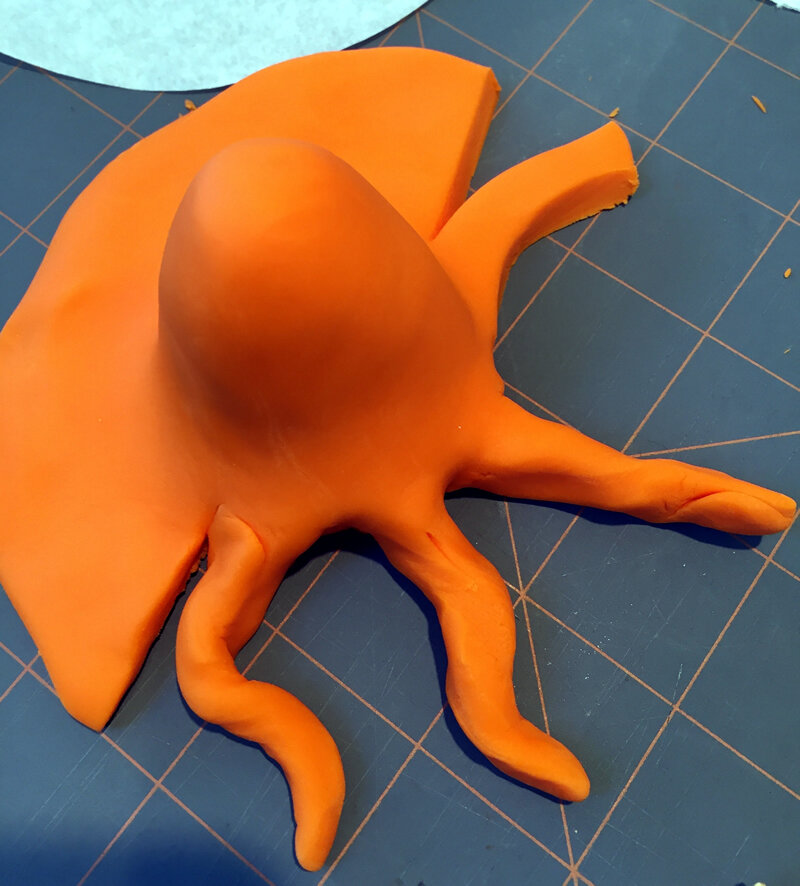
To make Hank, make a very big middle and roll out the edges. Then, you can cut legs from the extra material. Use your hands to roll the legs so you can't see any cut marks. You can have fun with this and give them some personality.
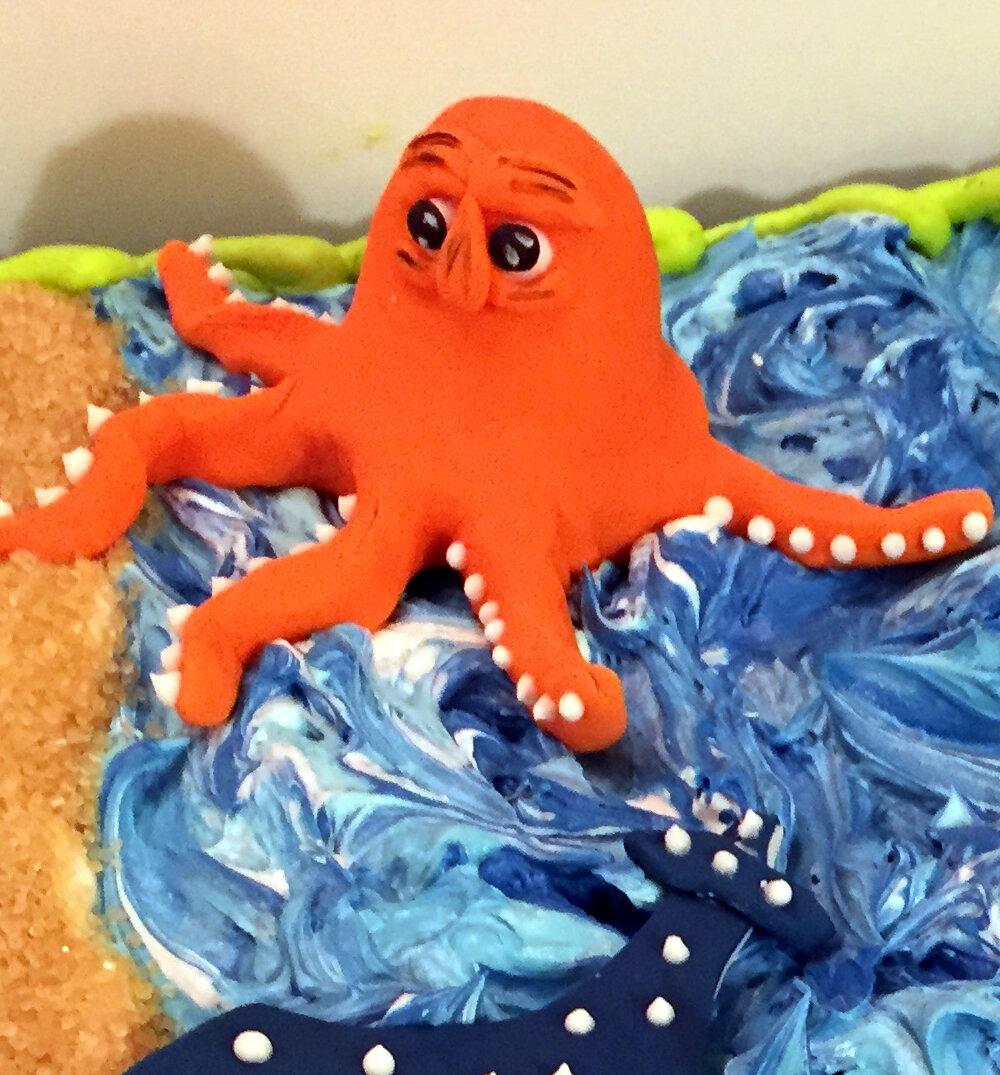
After making his legs, I used a little Royal Icing to pipe the little suction pieces on the bottoms of his tentacles. Then I added eyes and features with fondant and edible marker.
Dory
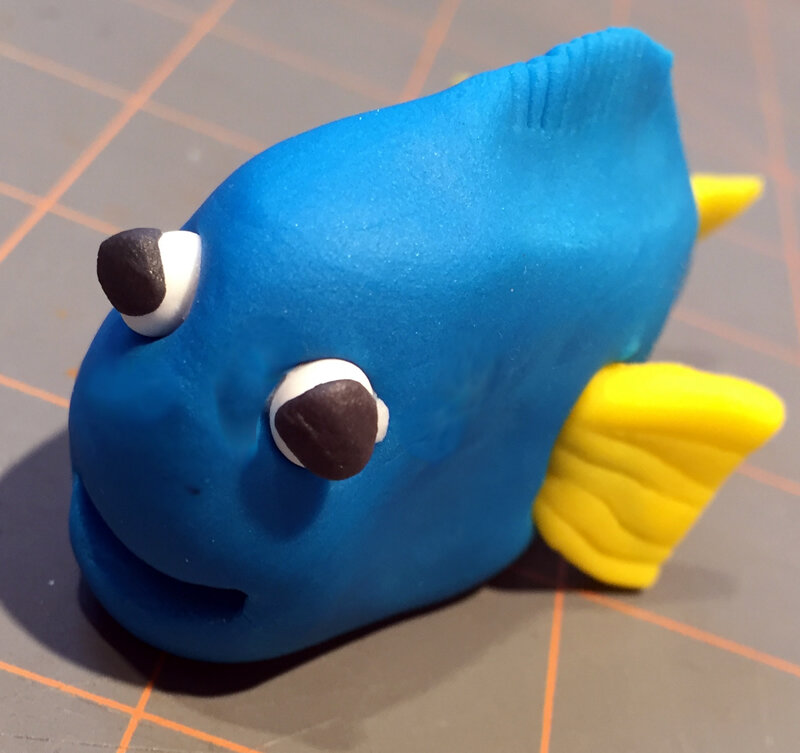
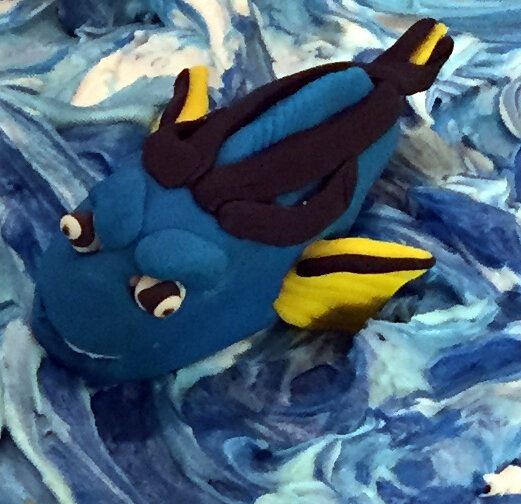
For Dory, start with a big piece of blue fondant and then mold it to look like a fish. Add fondant eyes, making sure to affix them with Royal Icing. For the fins, roll out pieces of yellow fondant, then use a sharp knife to cut holes into the side of Dory and filled each hole with a thin line of Royal Icing. Next, put the fin into the hole, making sure to connect it to the icing. For Dory's mouth, use a gum paste tool to gently put a space for her mouth. Then, add white fondant for her teeth. Finally, I added pupils and black accents to complete Dory.
Destiny
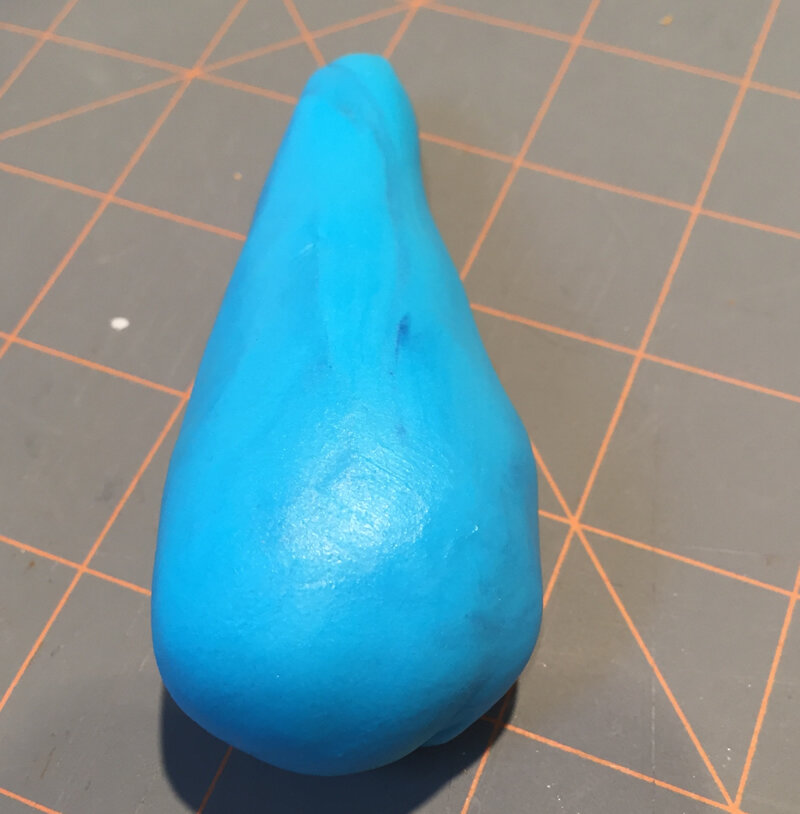
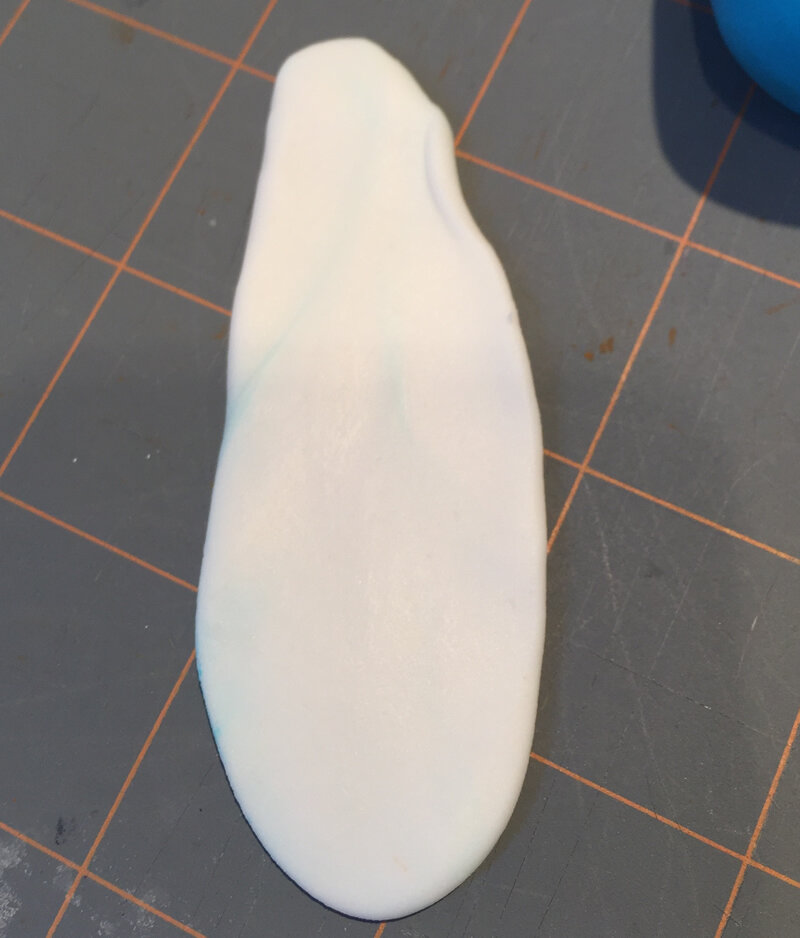
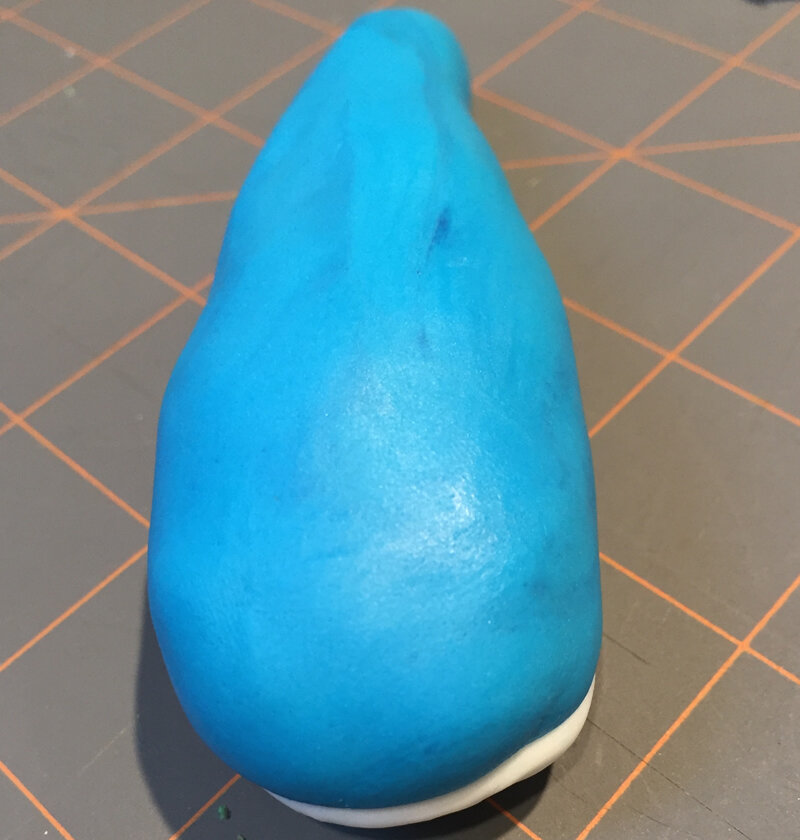
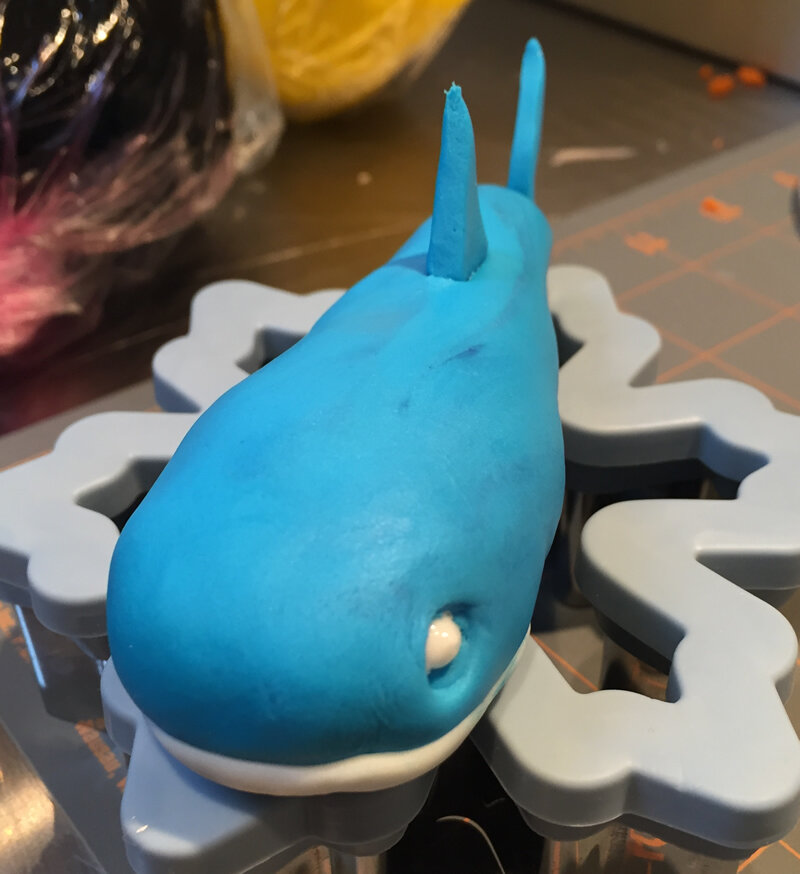
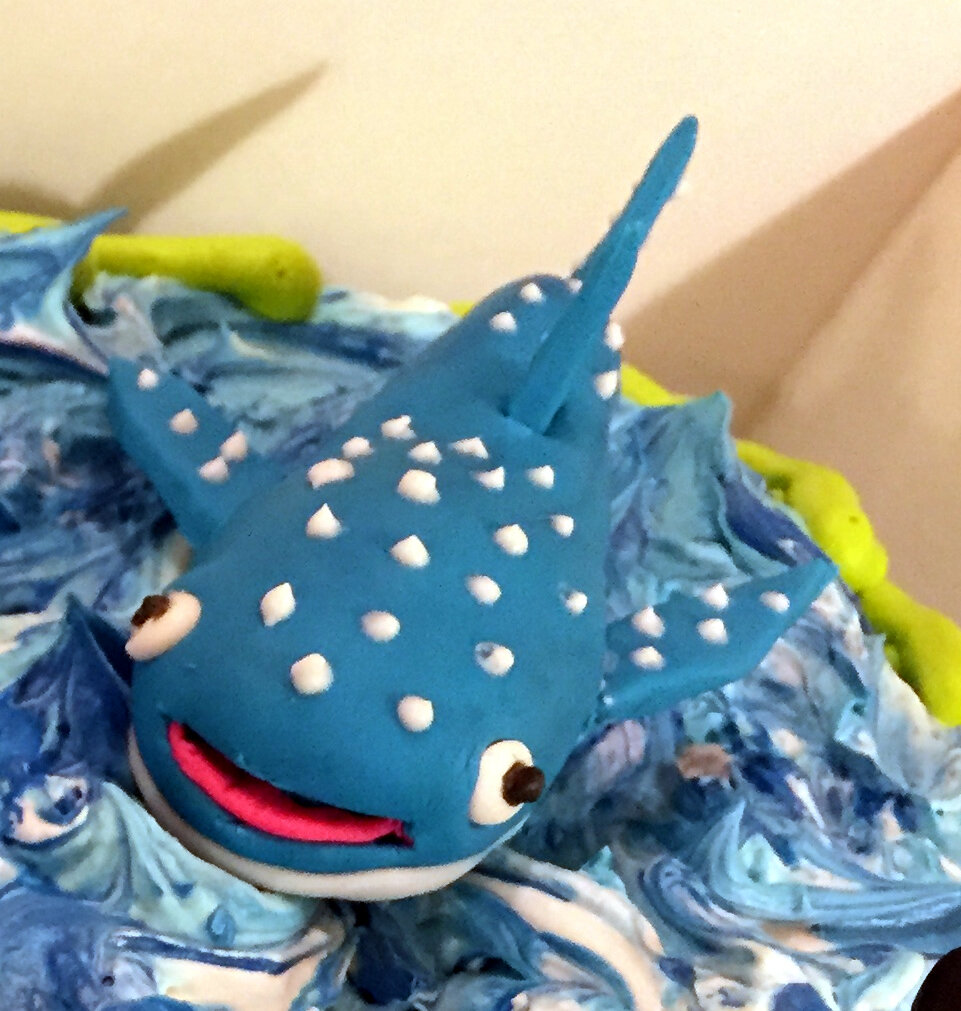
Destiny is a lot of fun to make! Start by rolling out a big ball of blue fondant. Then, roll out white fondant and press it gently against the bottom half of the body of blue. Make sure to adhere the two together well. Next, roll out blue fondant and cut fins. Then, follow the same process as with Dory: cut into the body and add royal icing. Gently press the fins into the slots and allow them to dry. Add the white dots with royal icing and attach eyes. To dry Destiny, you will want to prop against something. I dried Destiny on a cookie cutter, inserting straws underneath the fins to prevent them from drooping.
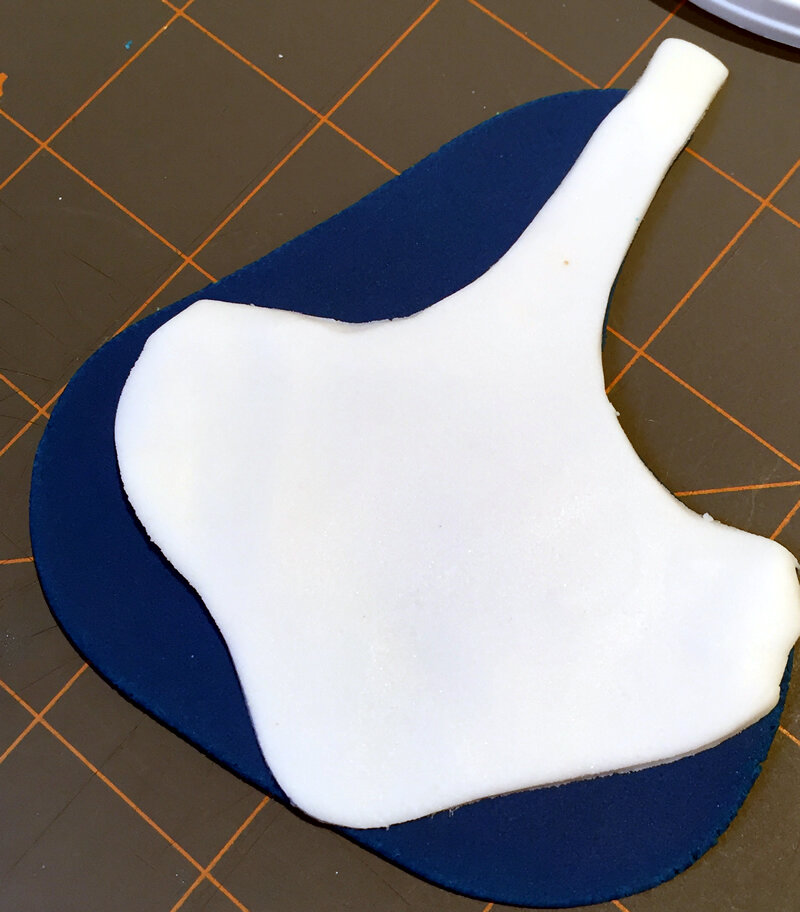
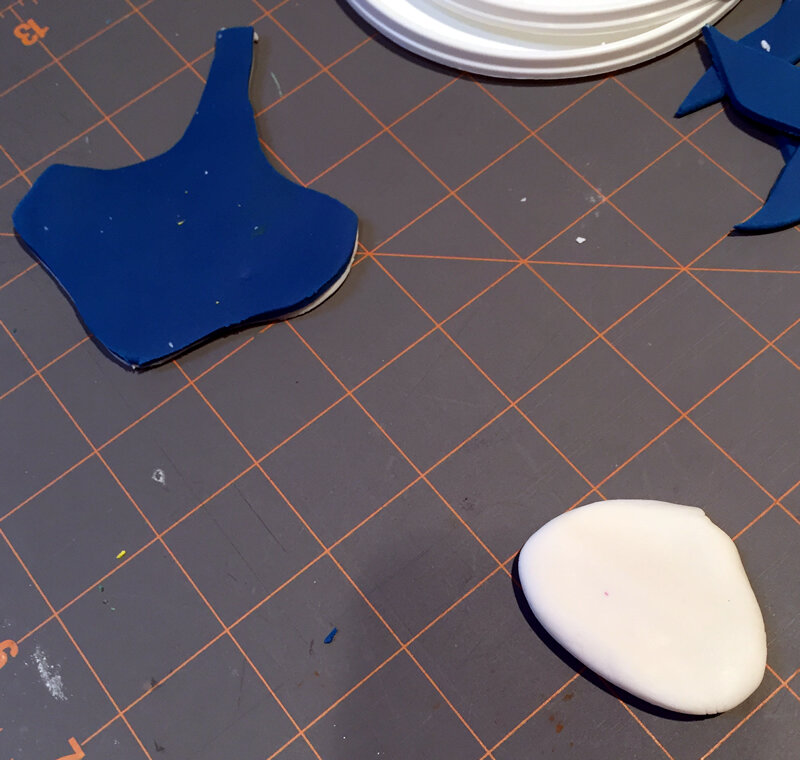
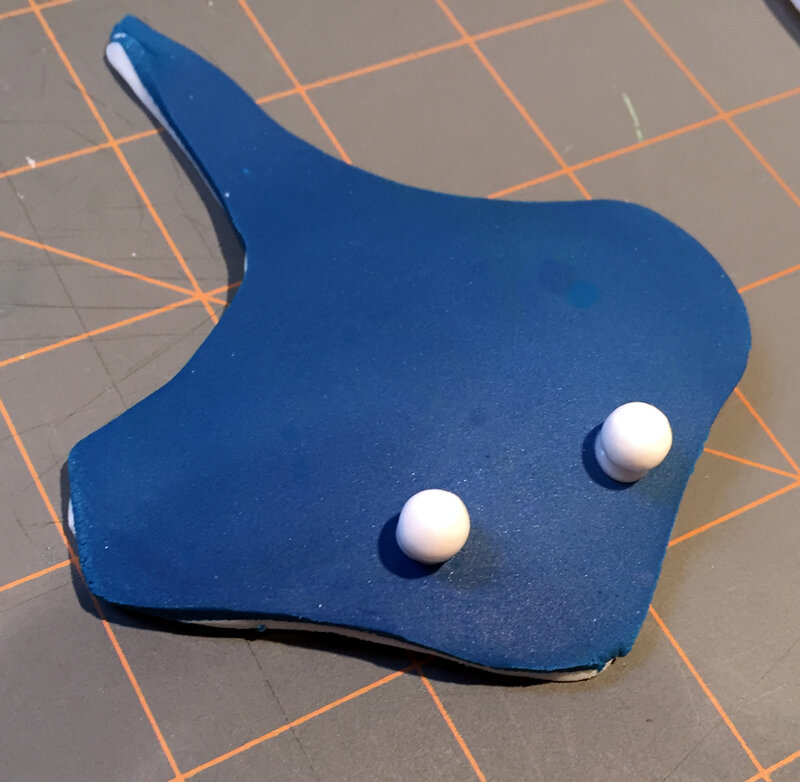
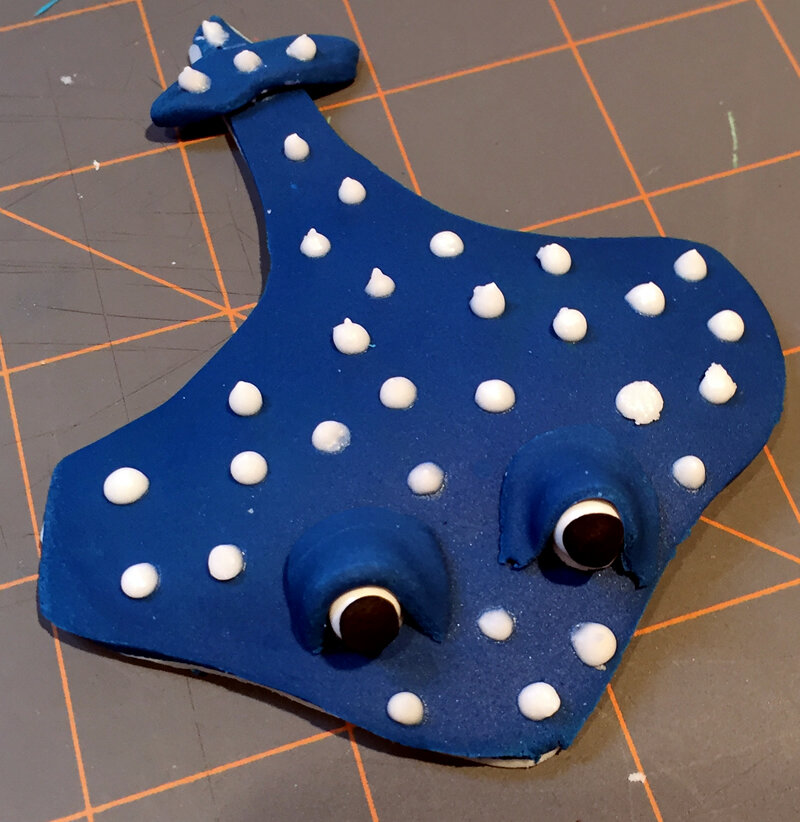
Ray
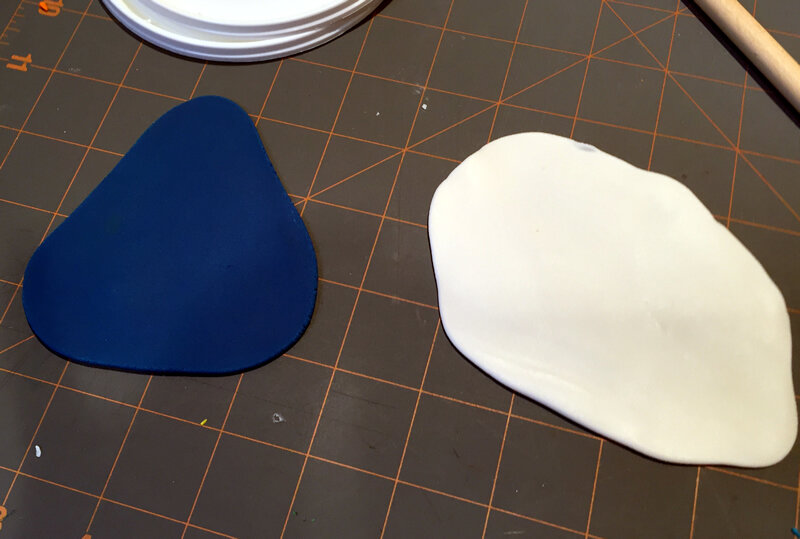
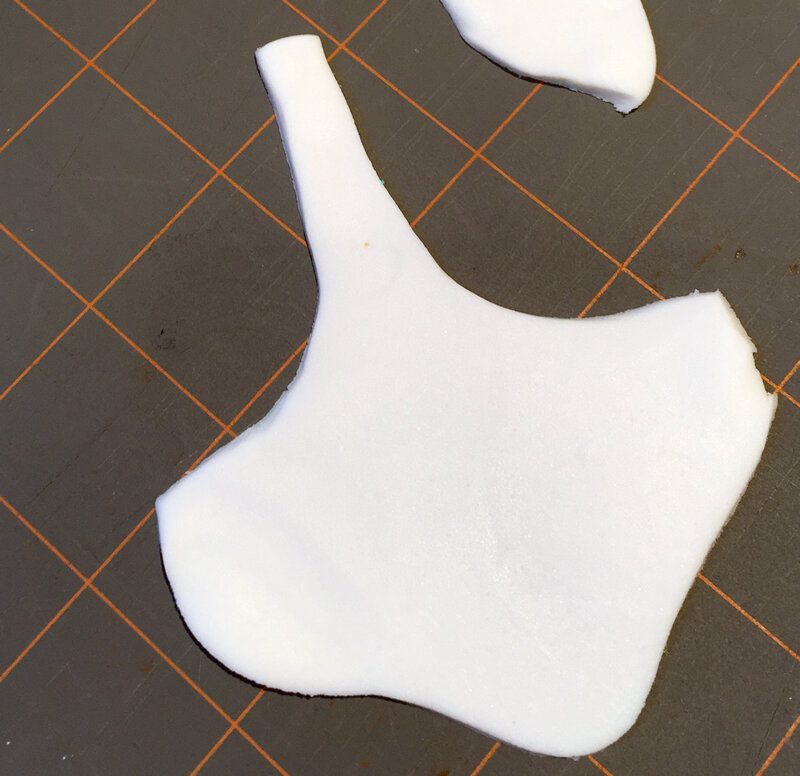
Ray is the stingray in Finding Dory and he is probably my most favorite of them all. He is dark blue with white dots. He has a white underbelly, just like Destiny. To make Ray, roll out a piece of white fondant. Cut out the shape of Ray and then roll out blue fondant to put underneath the white. Cut around the blue as well. (You can just roll out the blue and white and stack them so you only have to cut once. However, will then have blue and white compressed next to each other that is tricky to separate). Once you have Ray cut, roll out a piece of white to place underneath him to give him more of a 3-dimensional feel. Then, add features the way you added them for the other characters; eyes, dots, pupils etc.

Finish the Cake
Once you have created all your characters it is time to consider the cake that they will go on. We were making a half sheet cake for Liam's birthday. I felt it was important to have some space around the cake to write, and also wanted to have some beach "sand" made from granulated raw sugar. I wanted the water on my cake to look realistic and fun so I made several different colors of blue and dropped them on the cake. Then, I used a spatula to make them look like waves, taking care not to overmix the colors. Once I had the lettering on, the waves and other accents, I put the characters on the cake. Hank needed the support of two straws because he was so large, but the other 3 just laid on the cake unsupported.