
Troll Cake

Troll Cake
This fun Troll cake has a gum paste rainbow, lots and lots of fondant flowers, mushrooms and of course toy Trolls!
Making a Troll cake filled with candy is SO much fun! Simply bake your rainbow cake layers, cut out the middle and fill with candy and you are ready to decorate your Troll cake. Check out my step by step photo tutorial to make your own Troll cake.
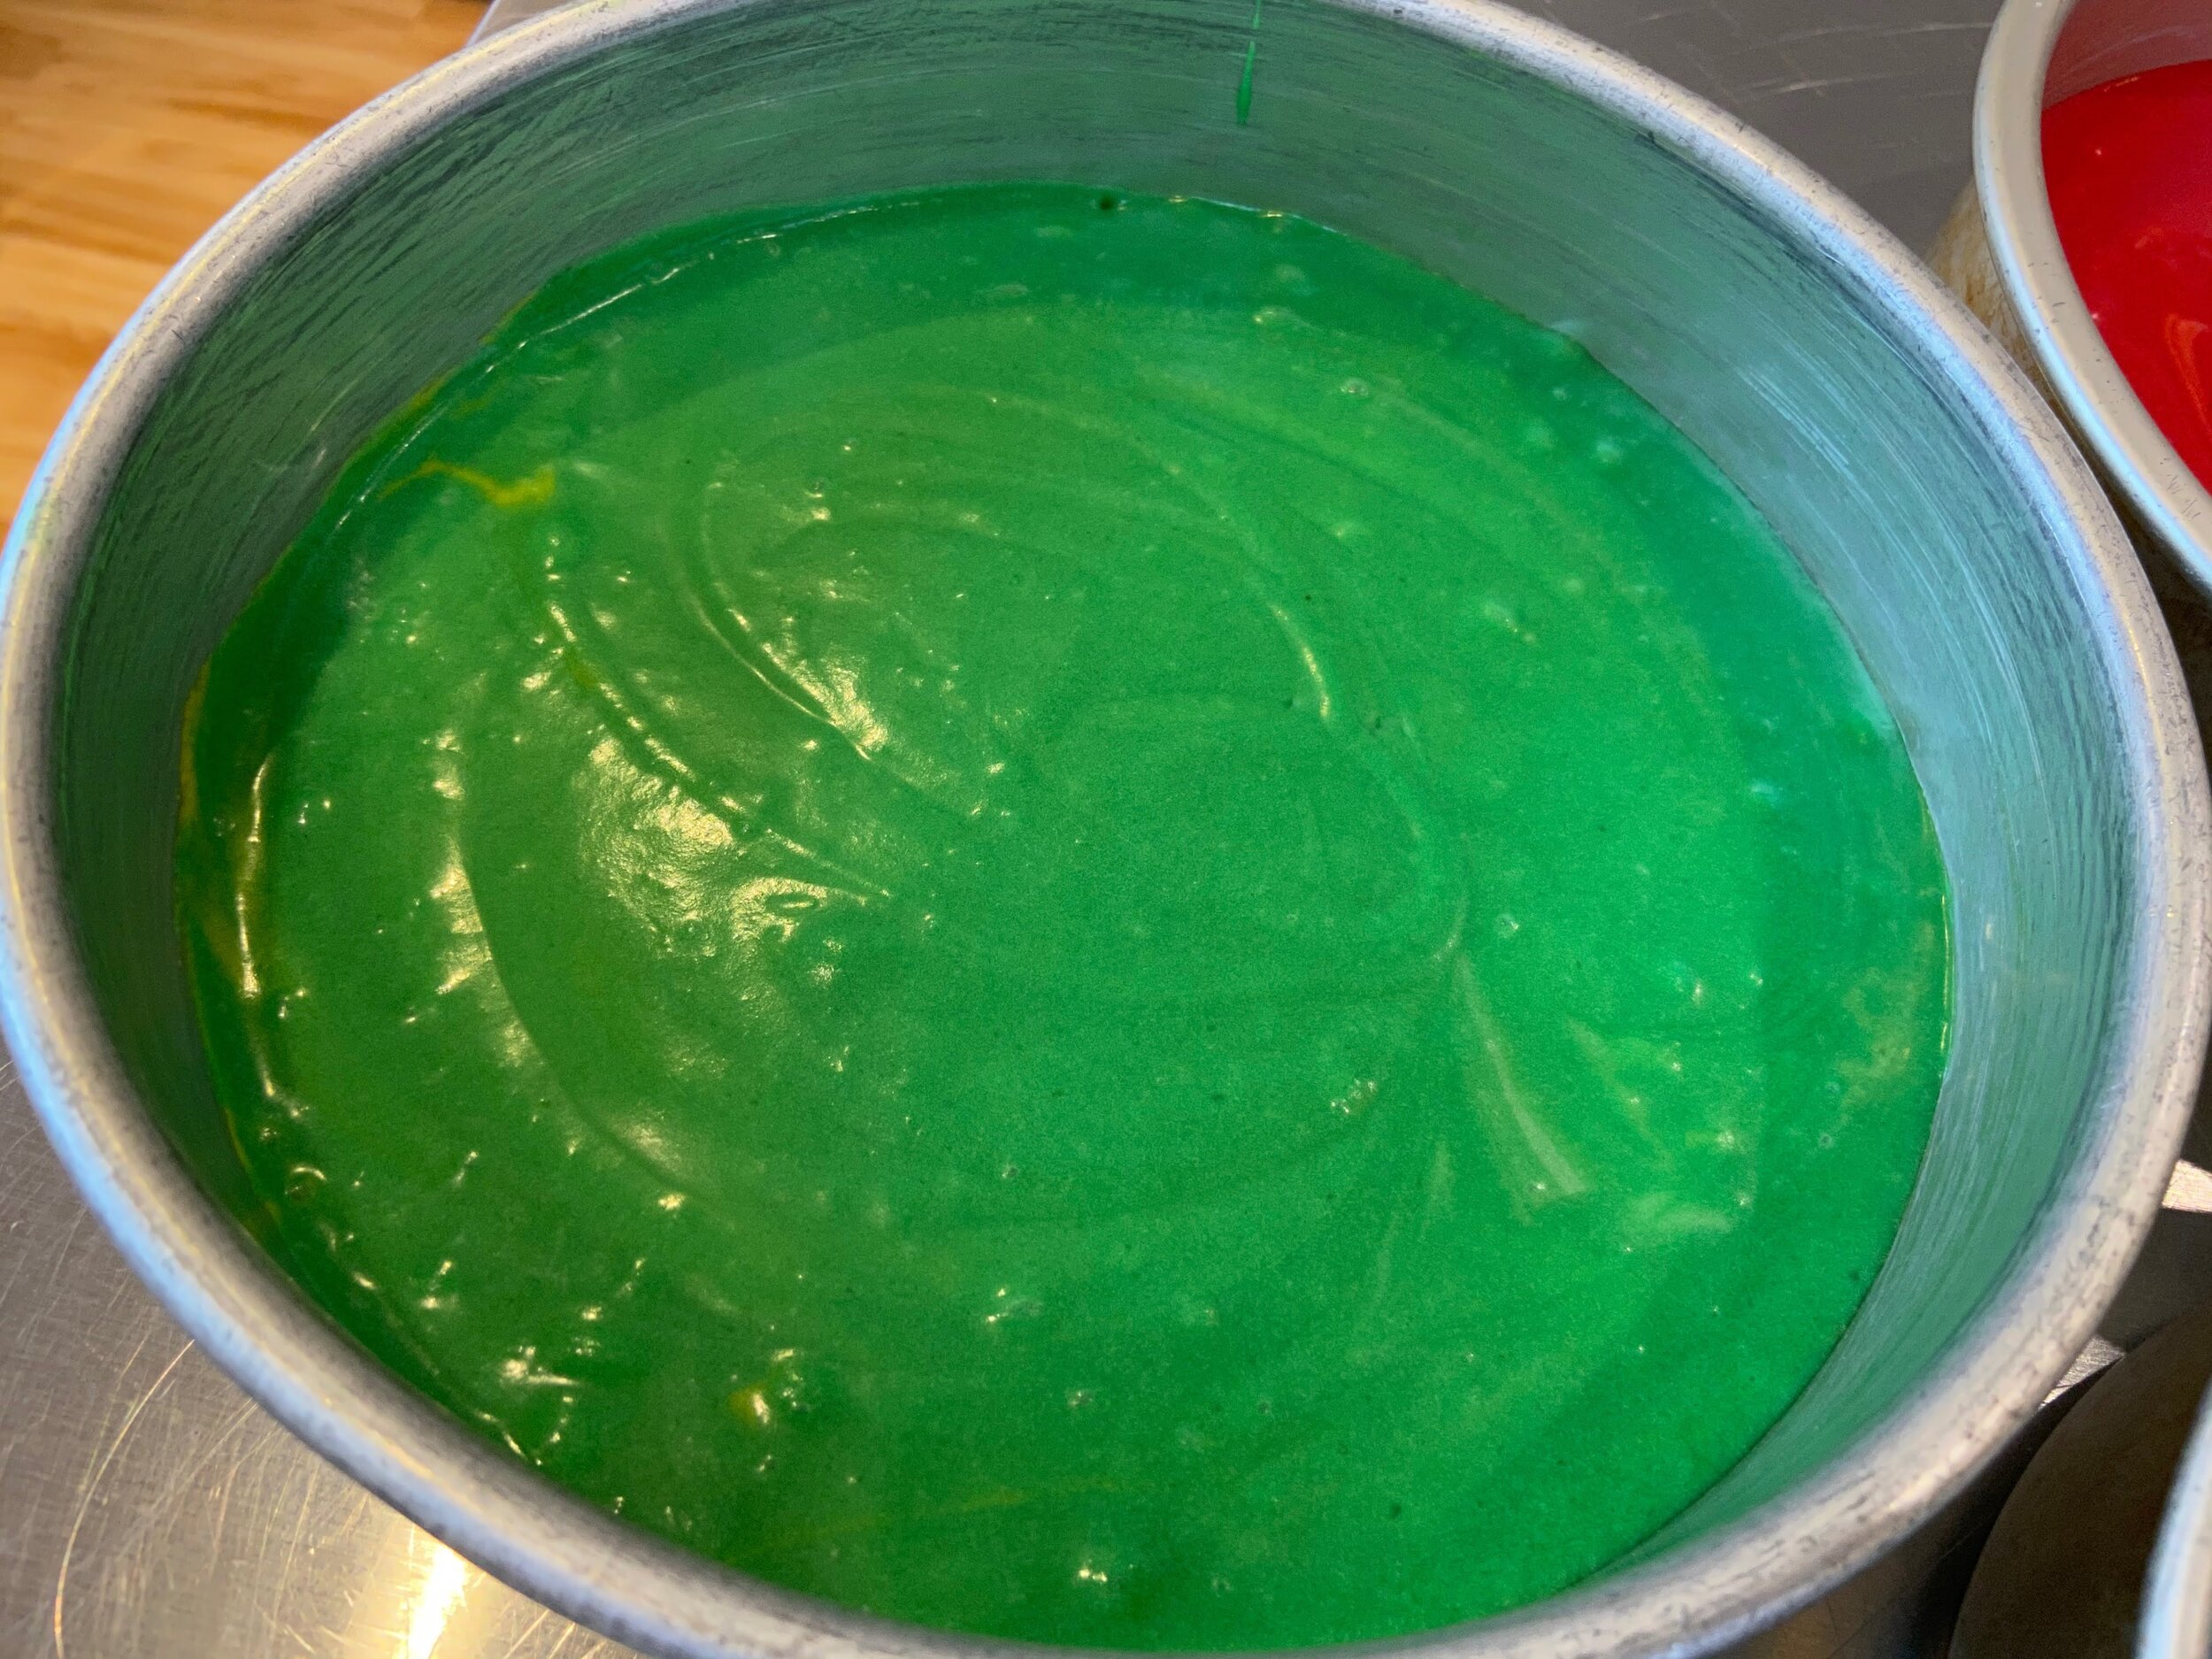
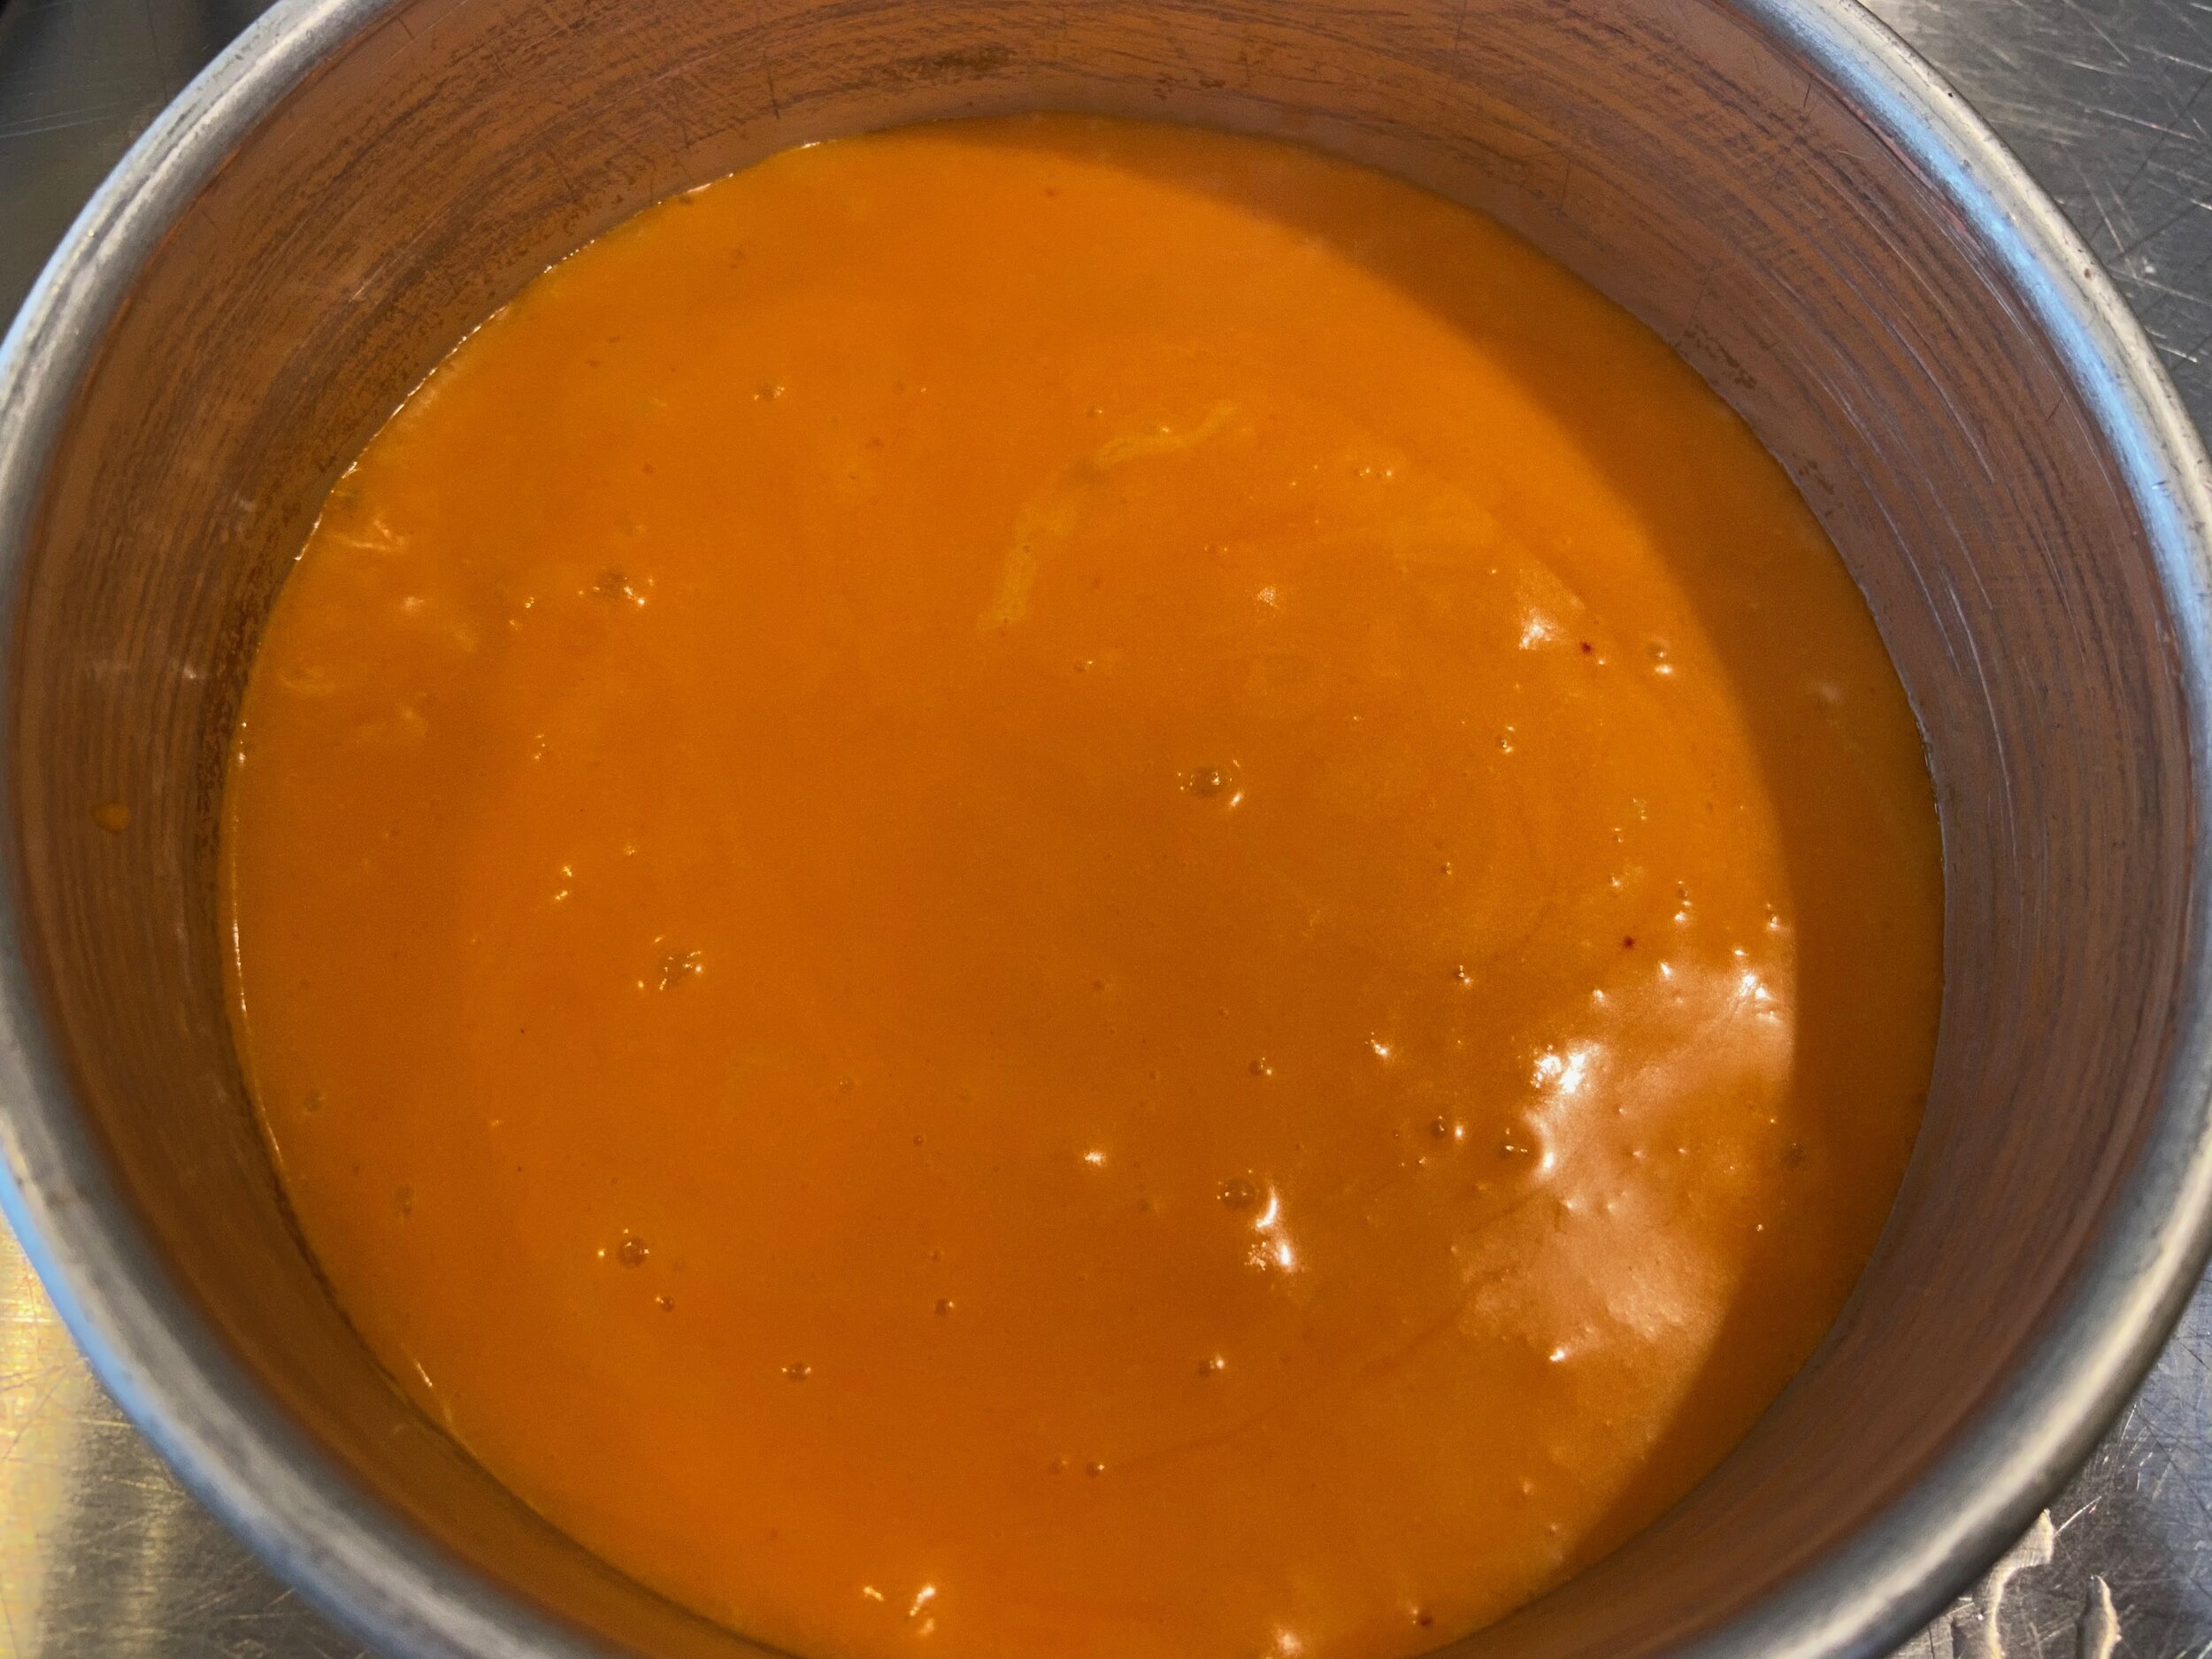
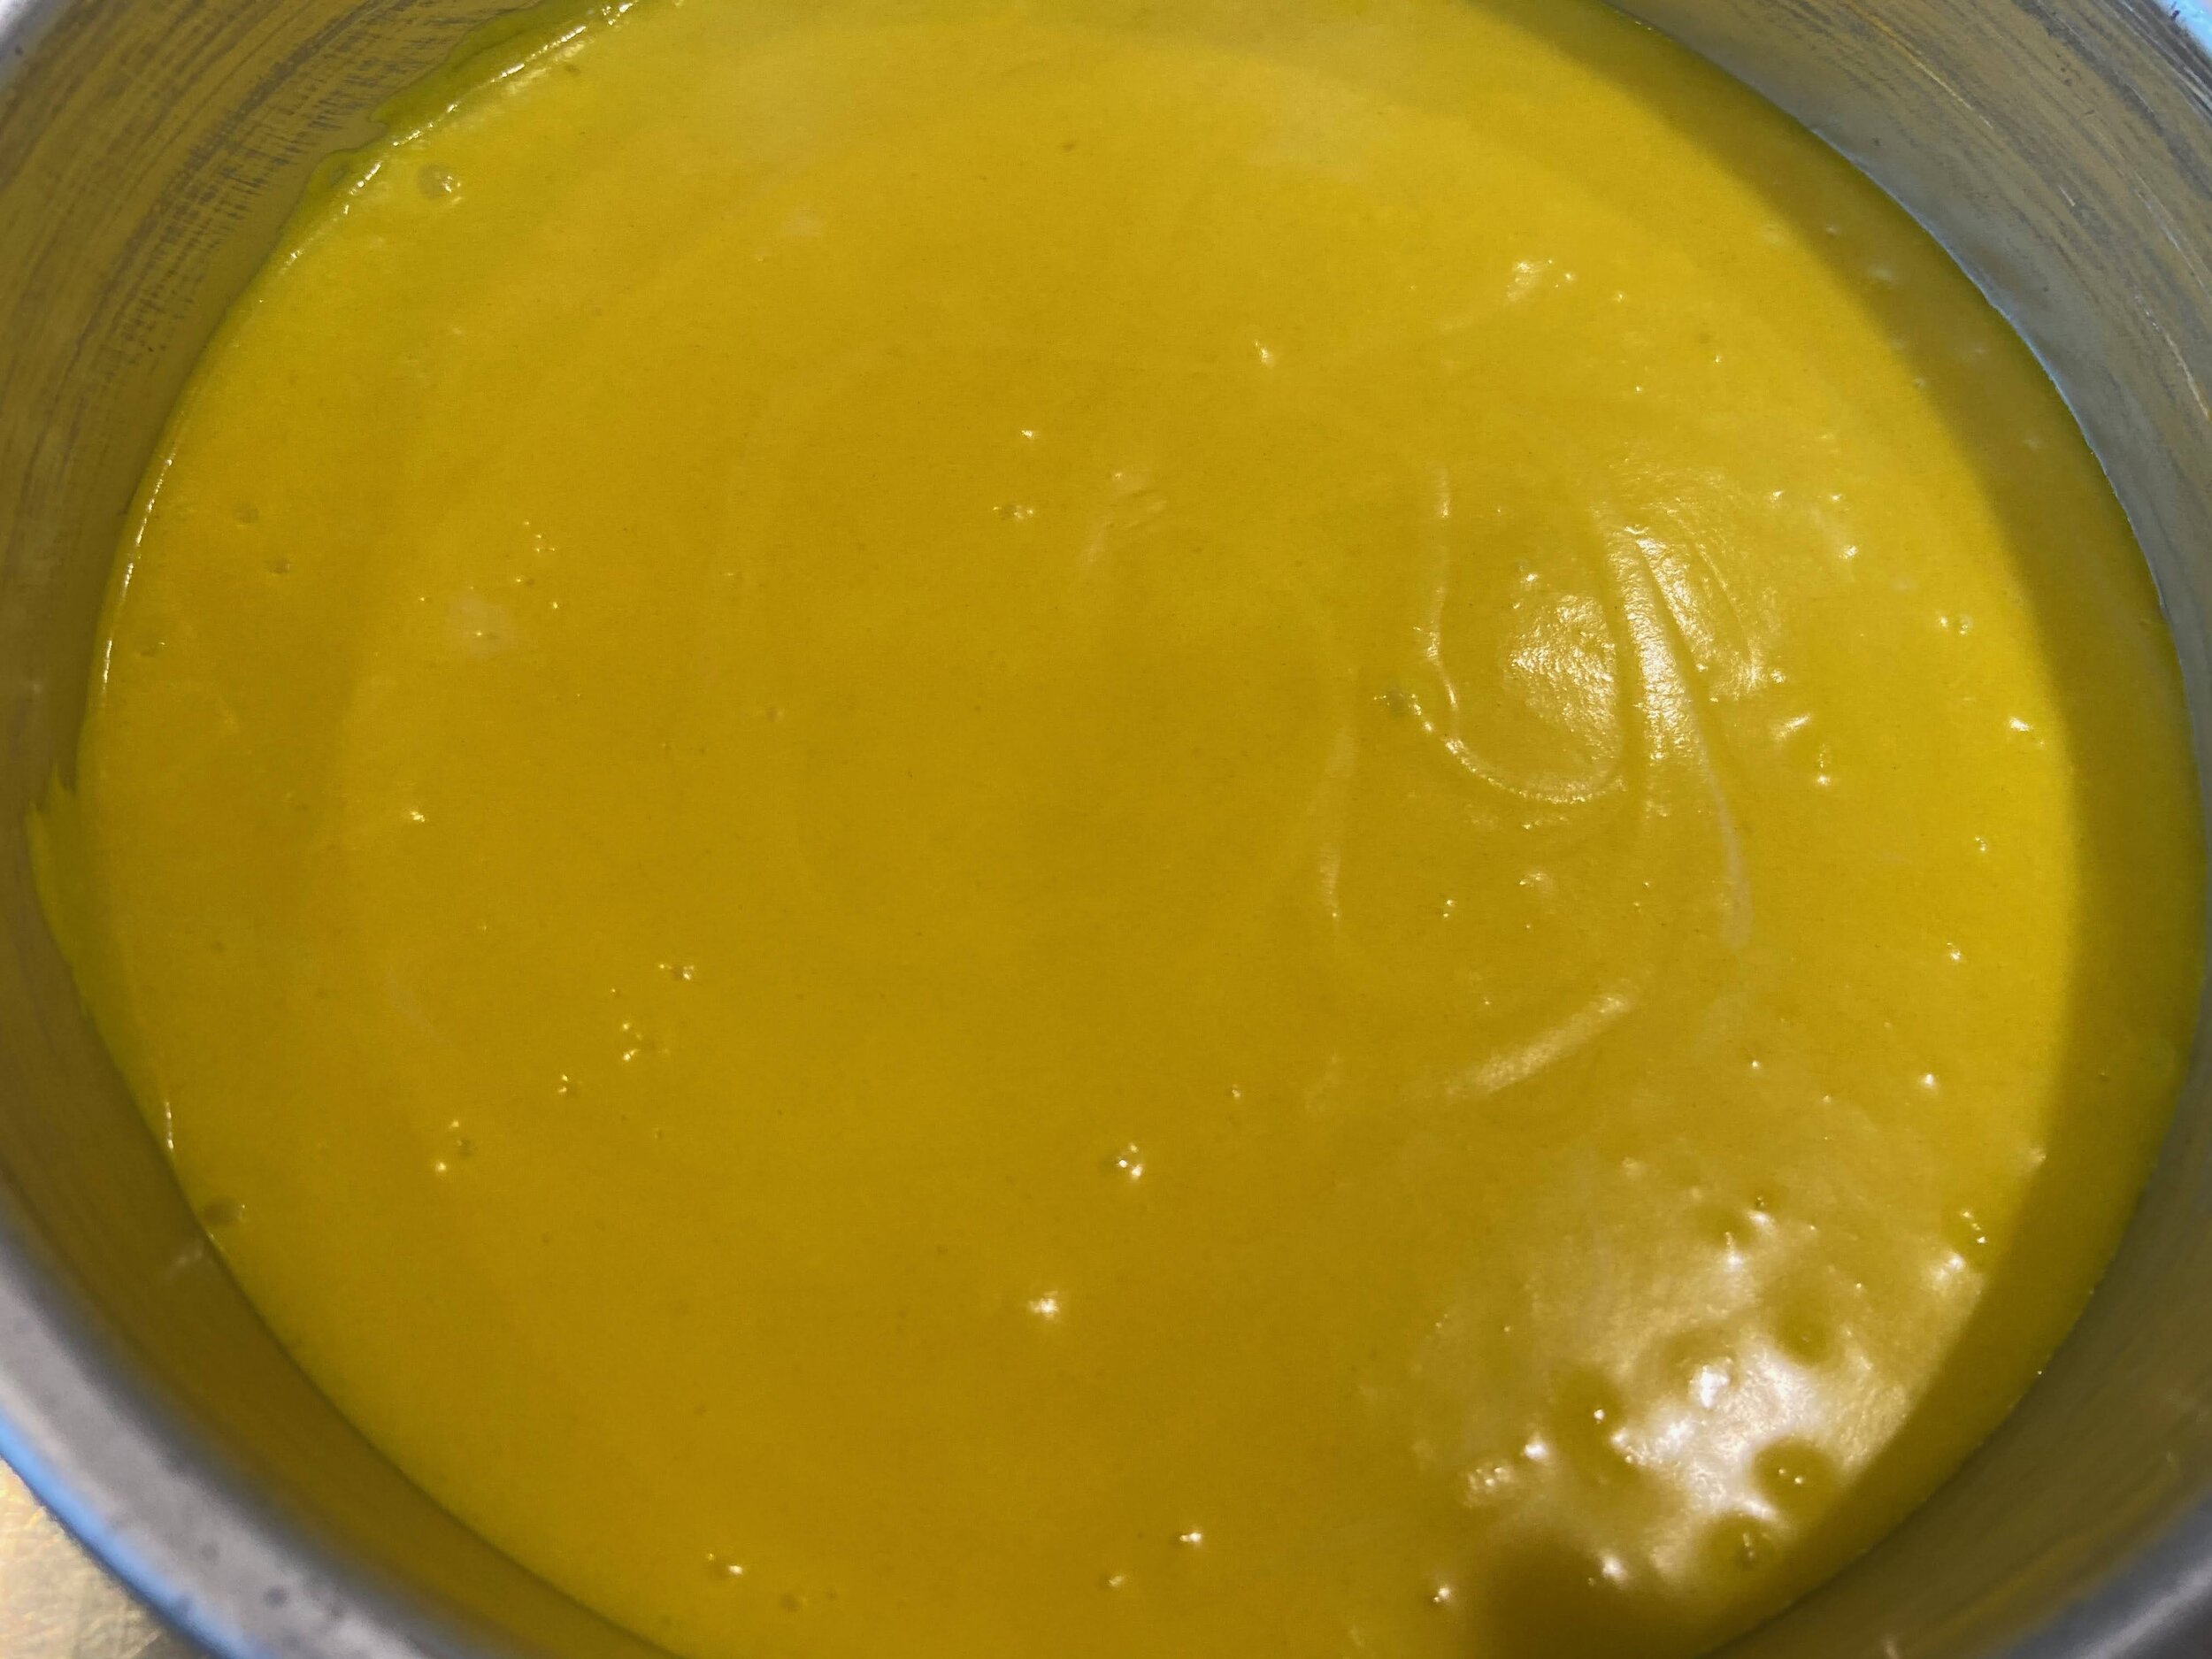
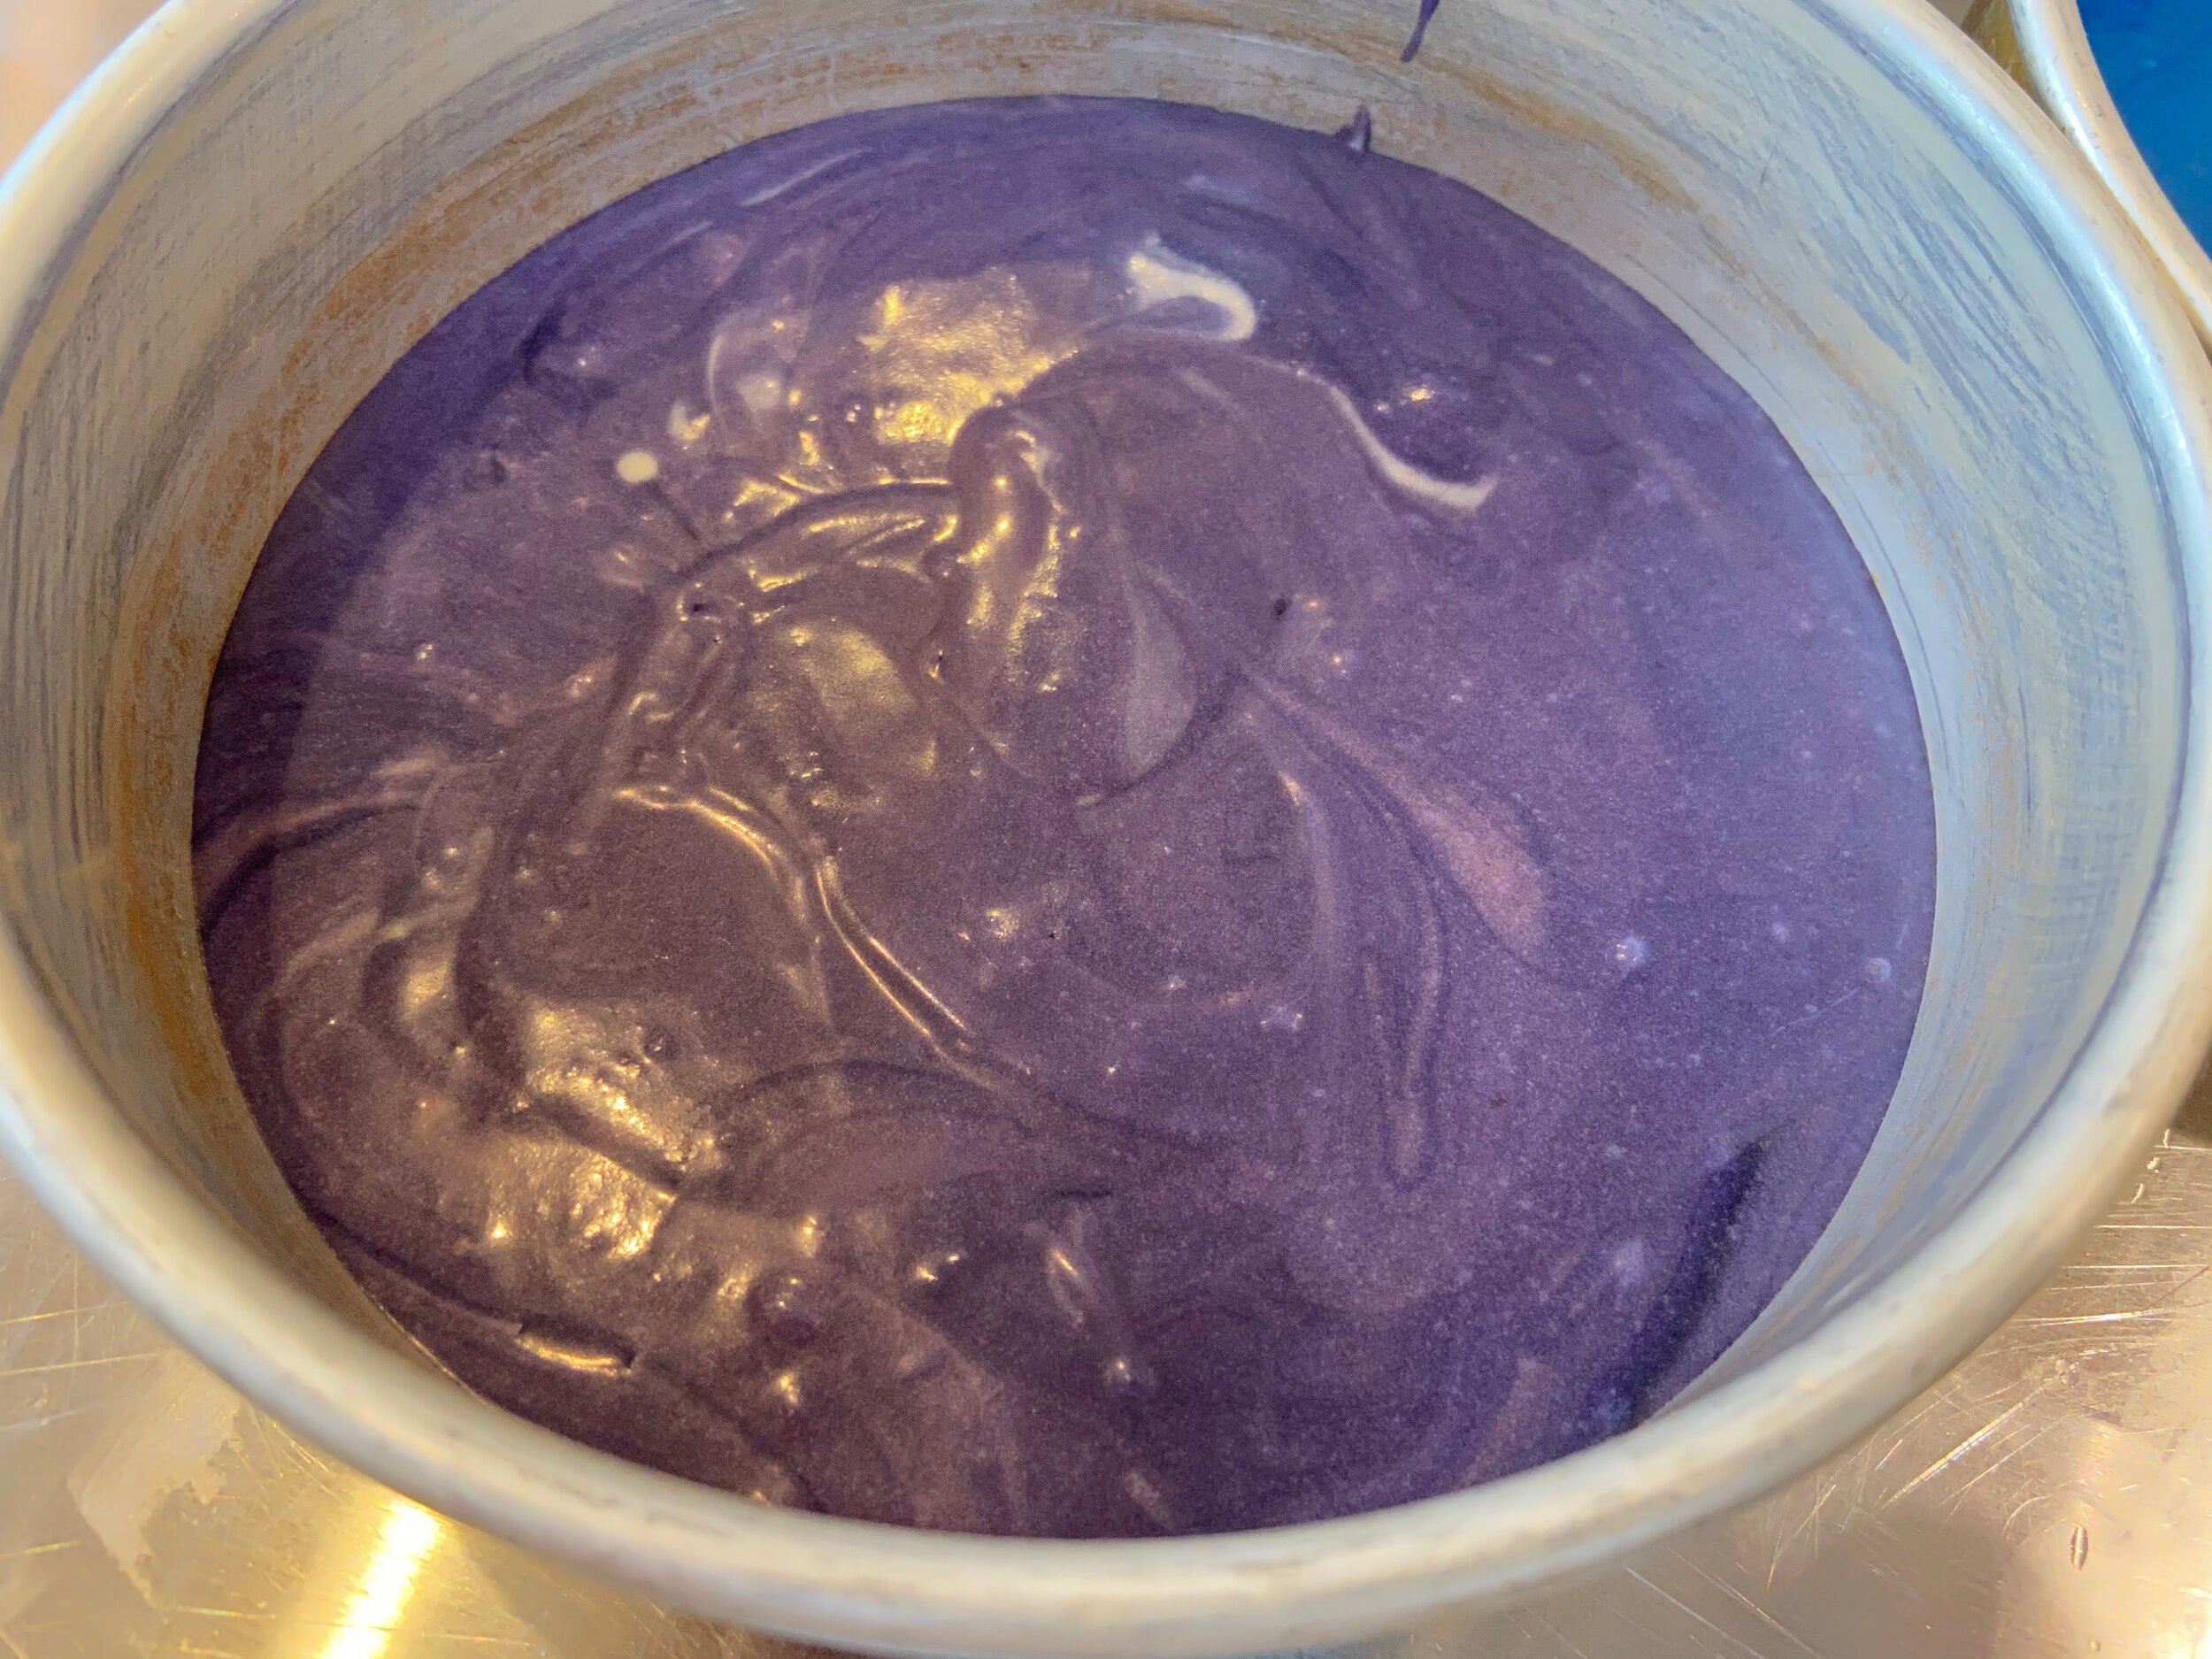
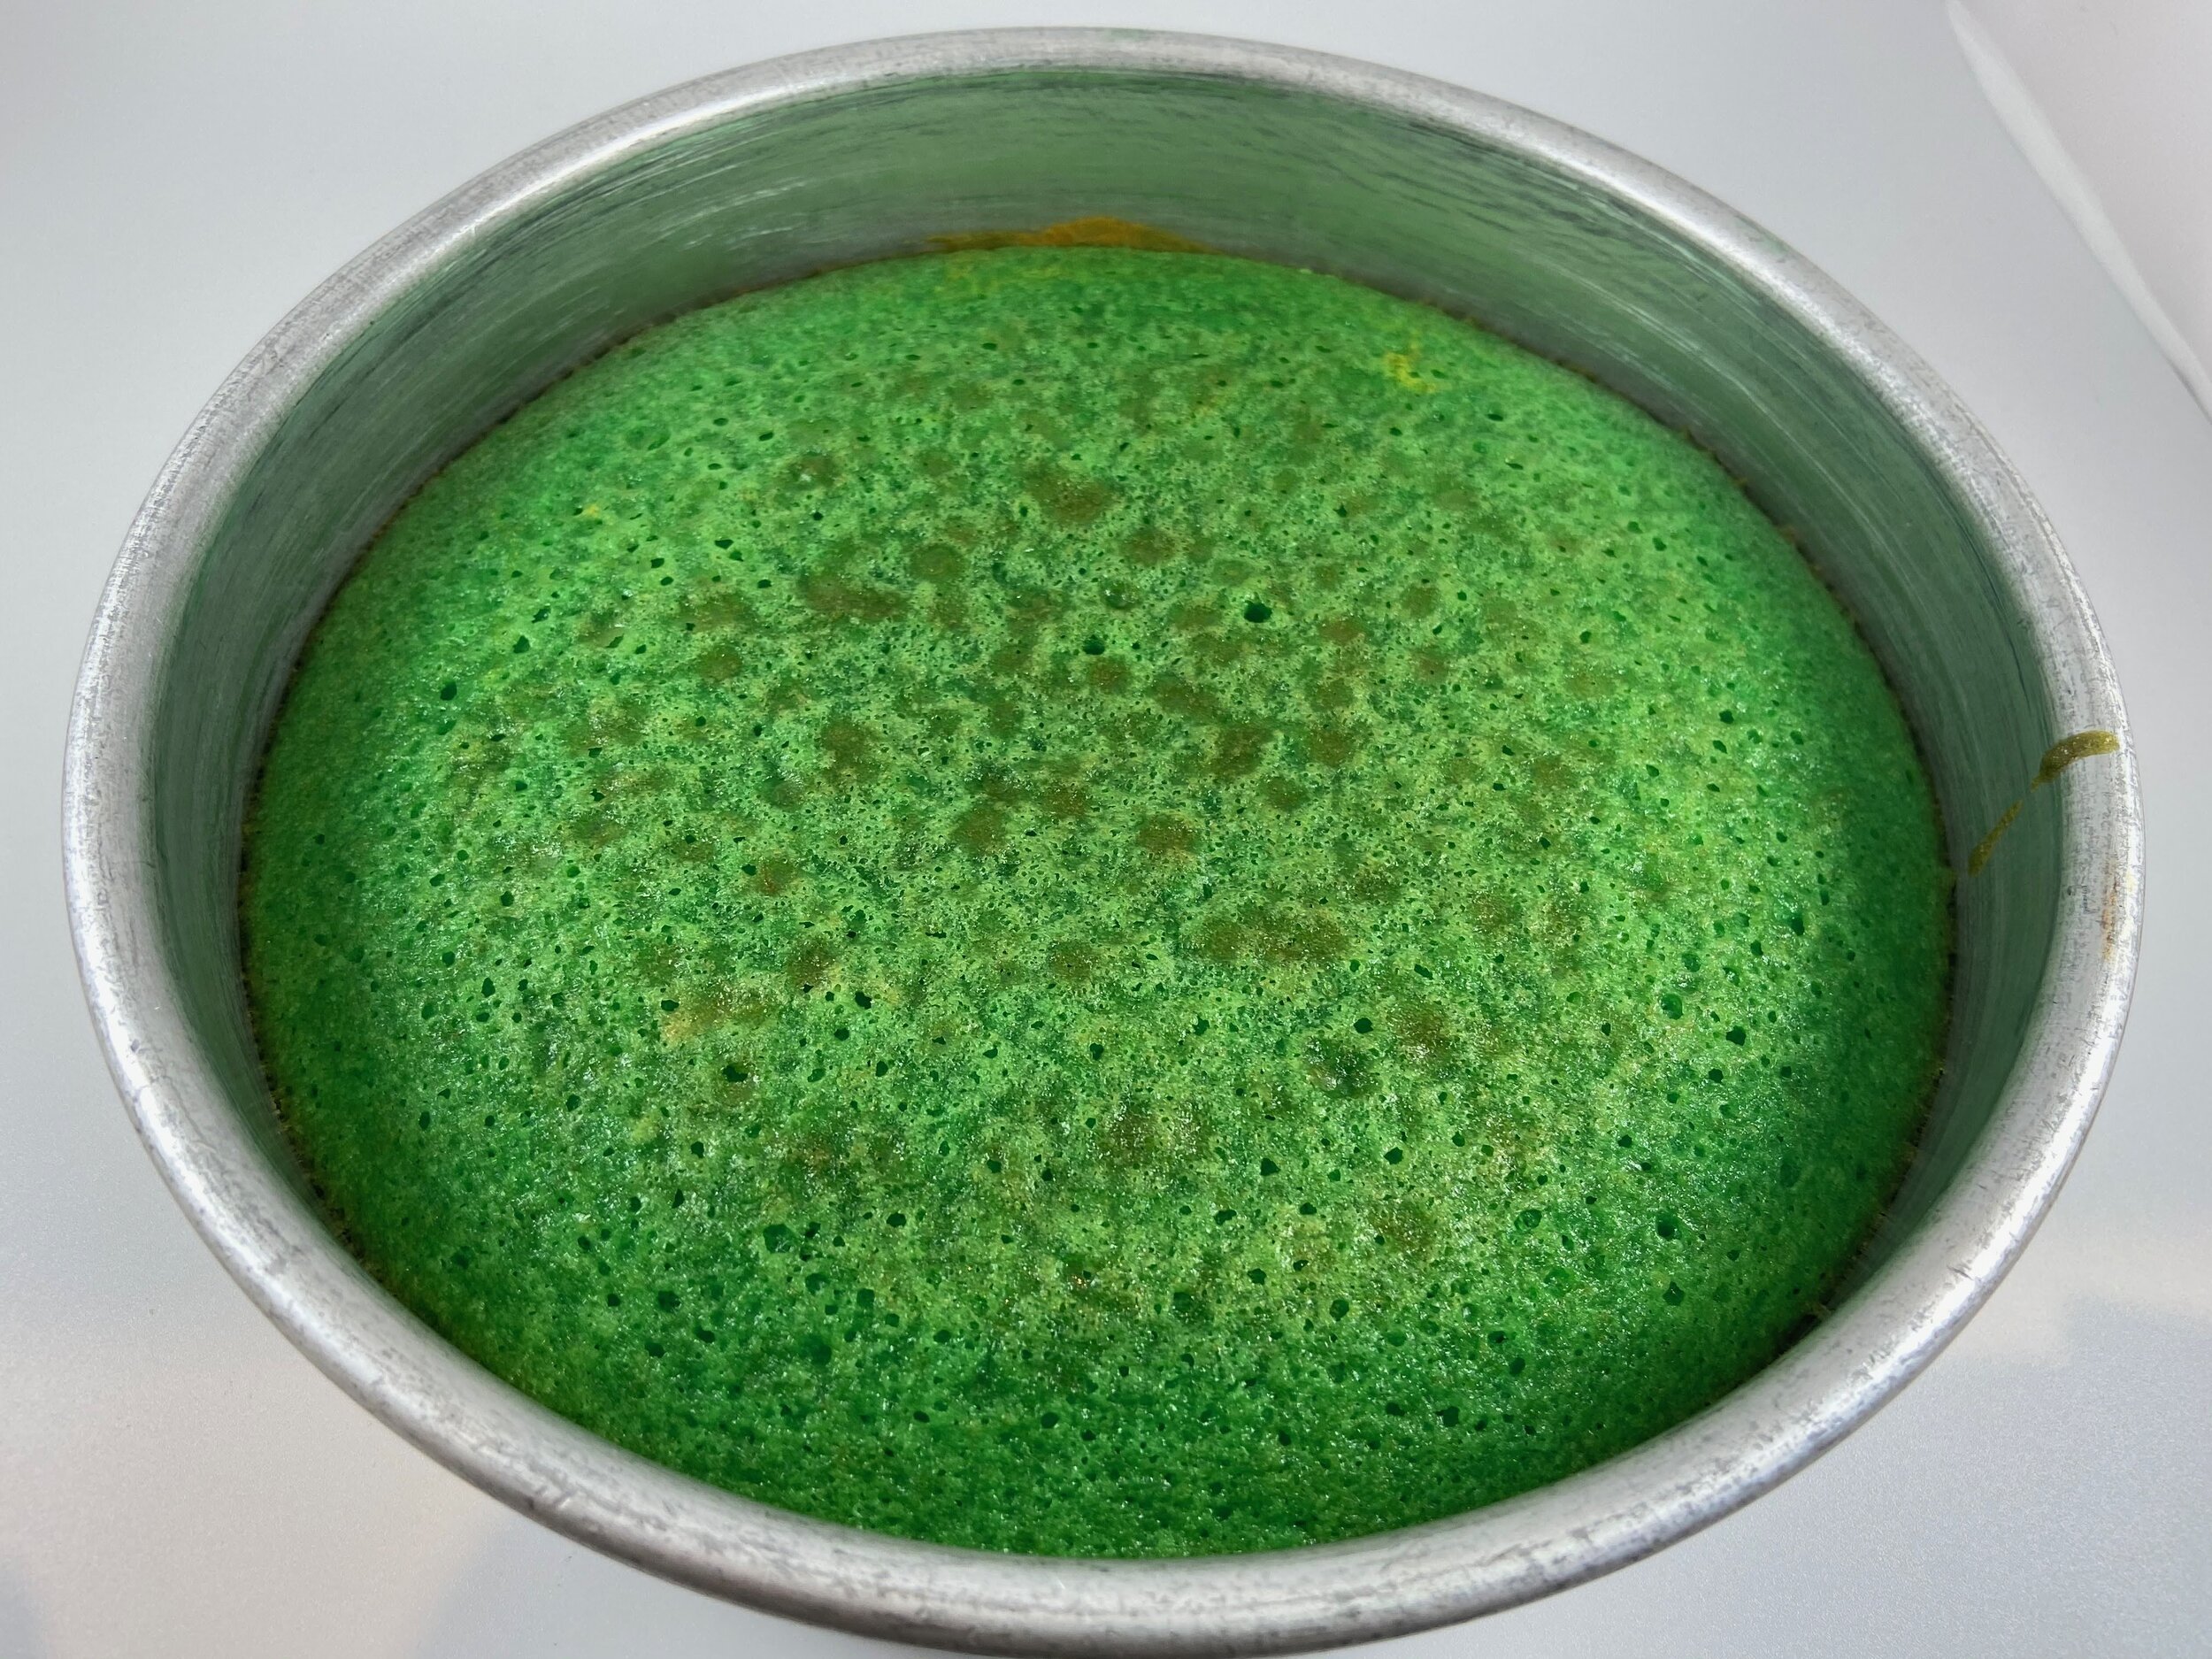
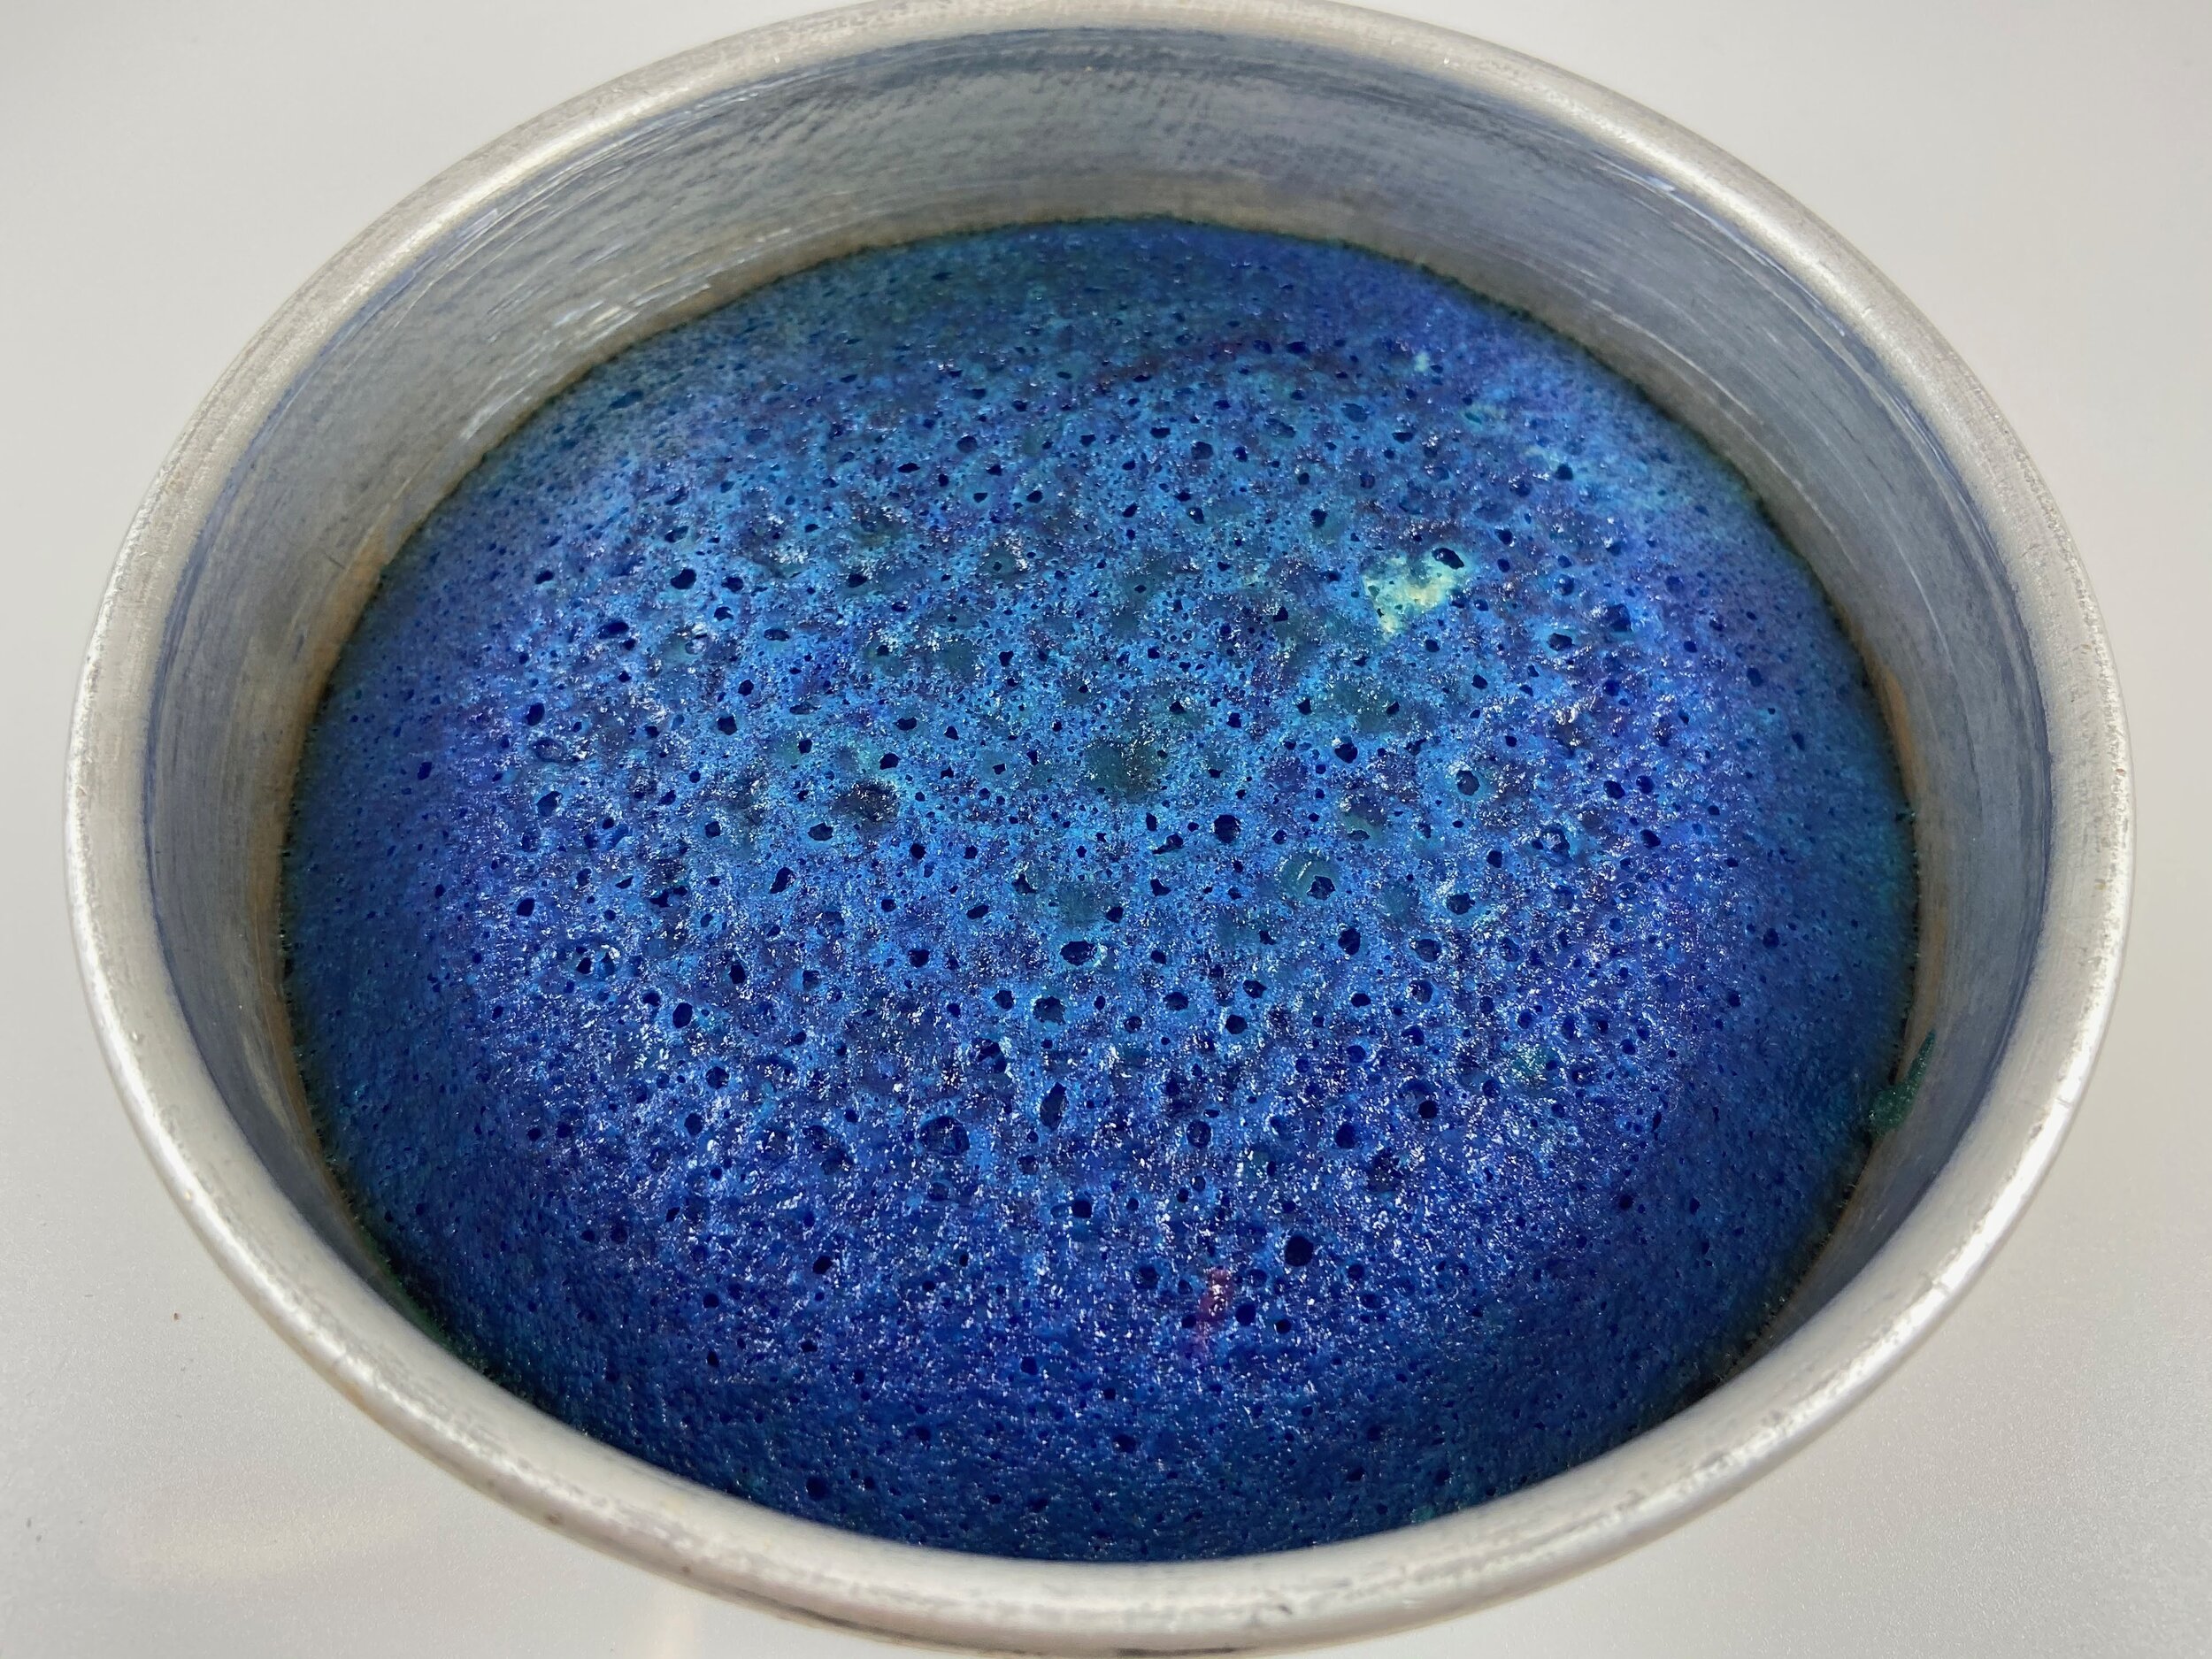
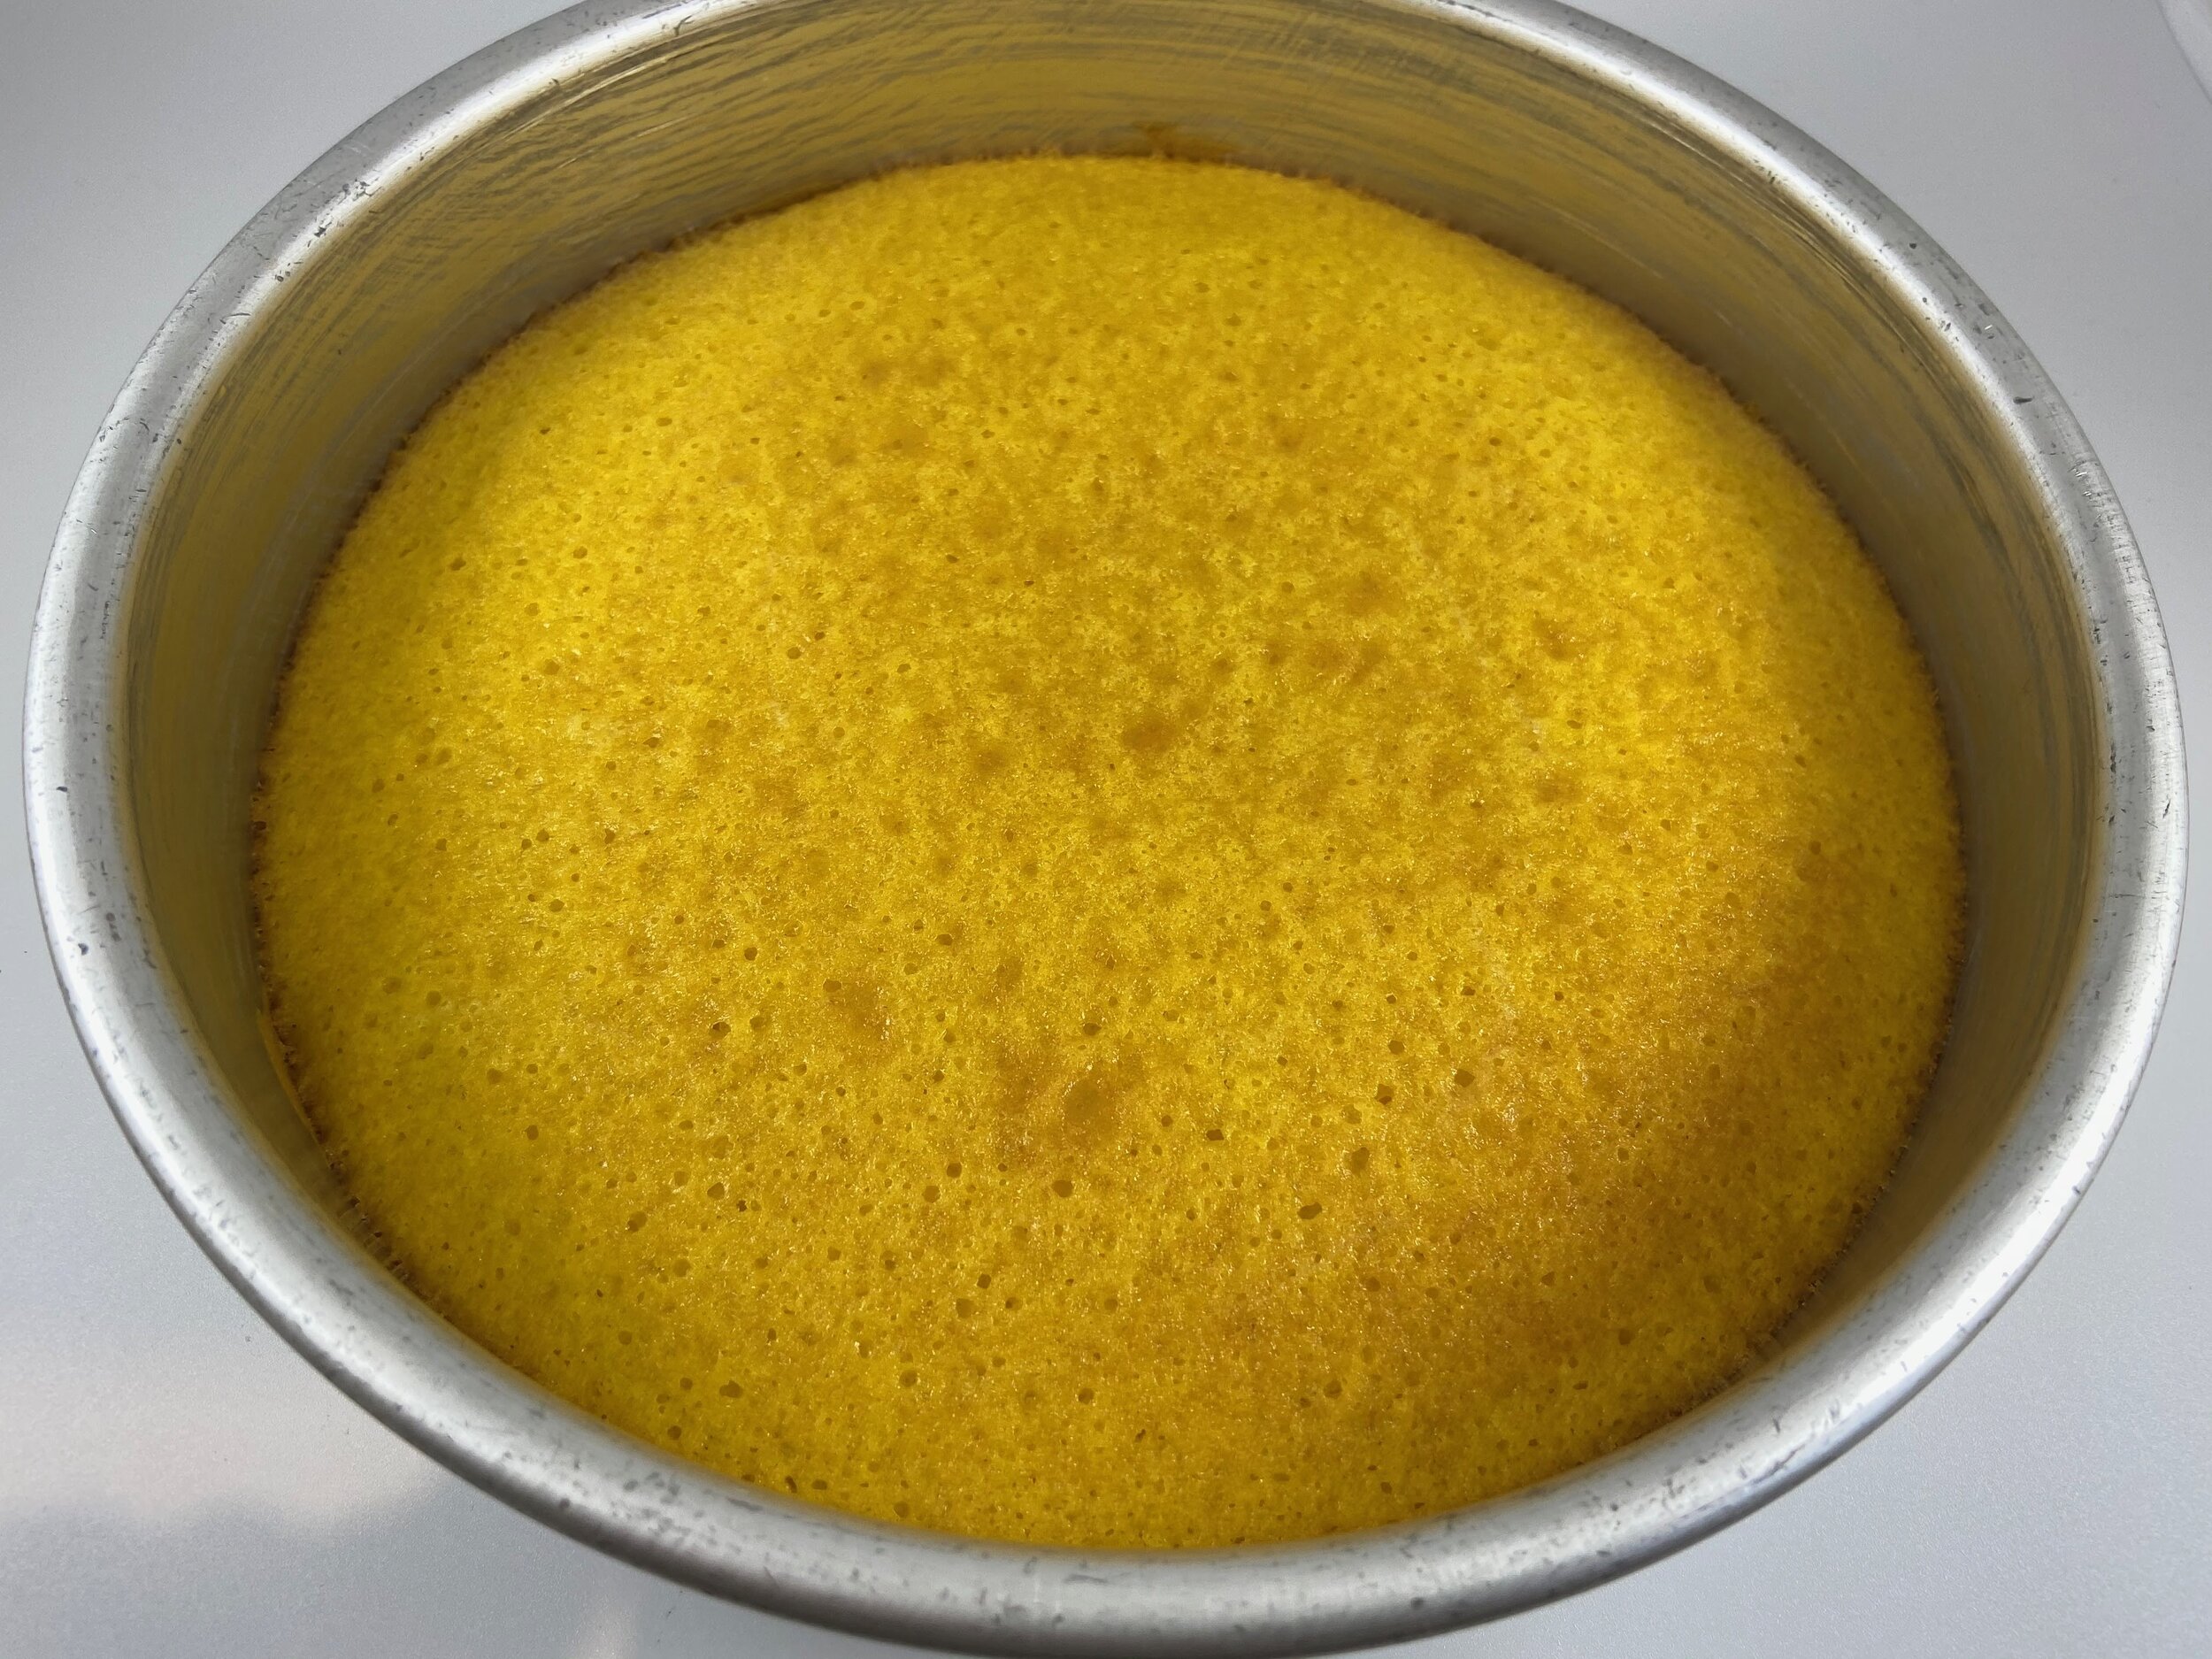
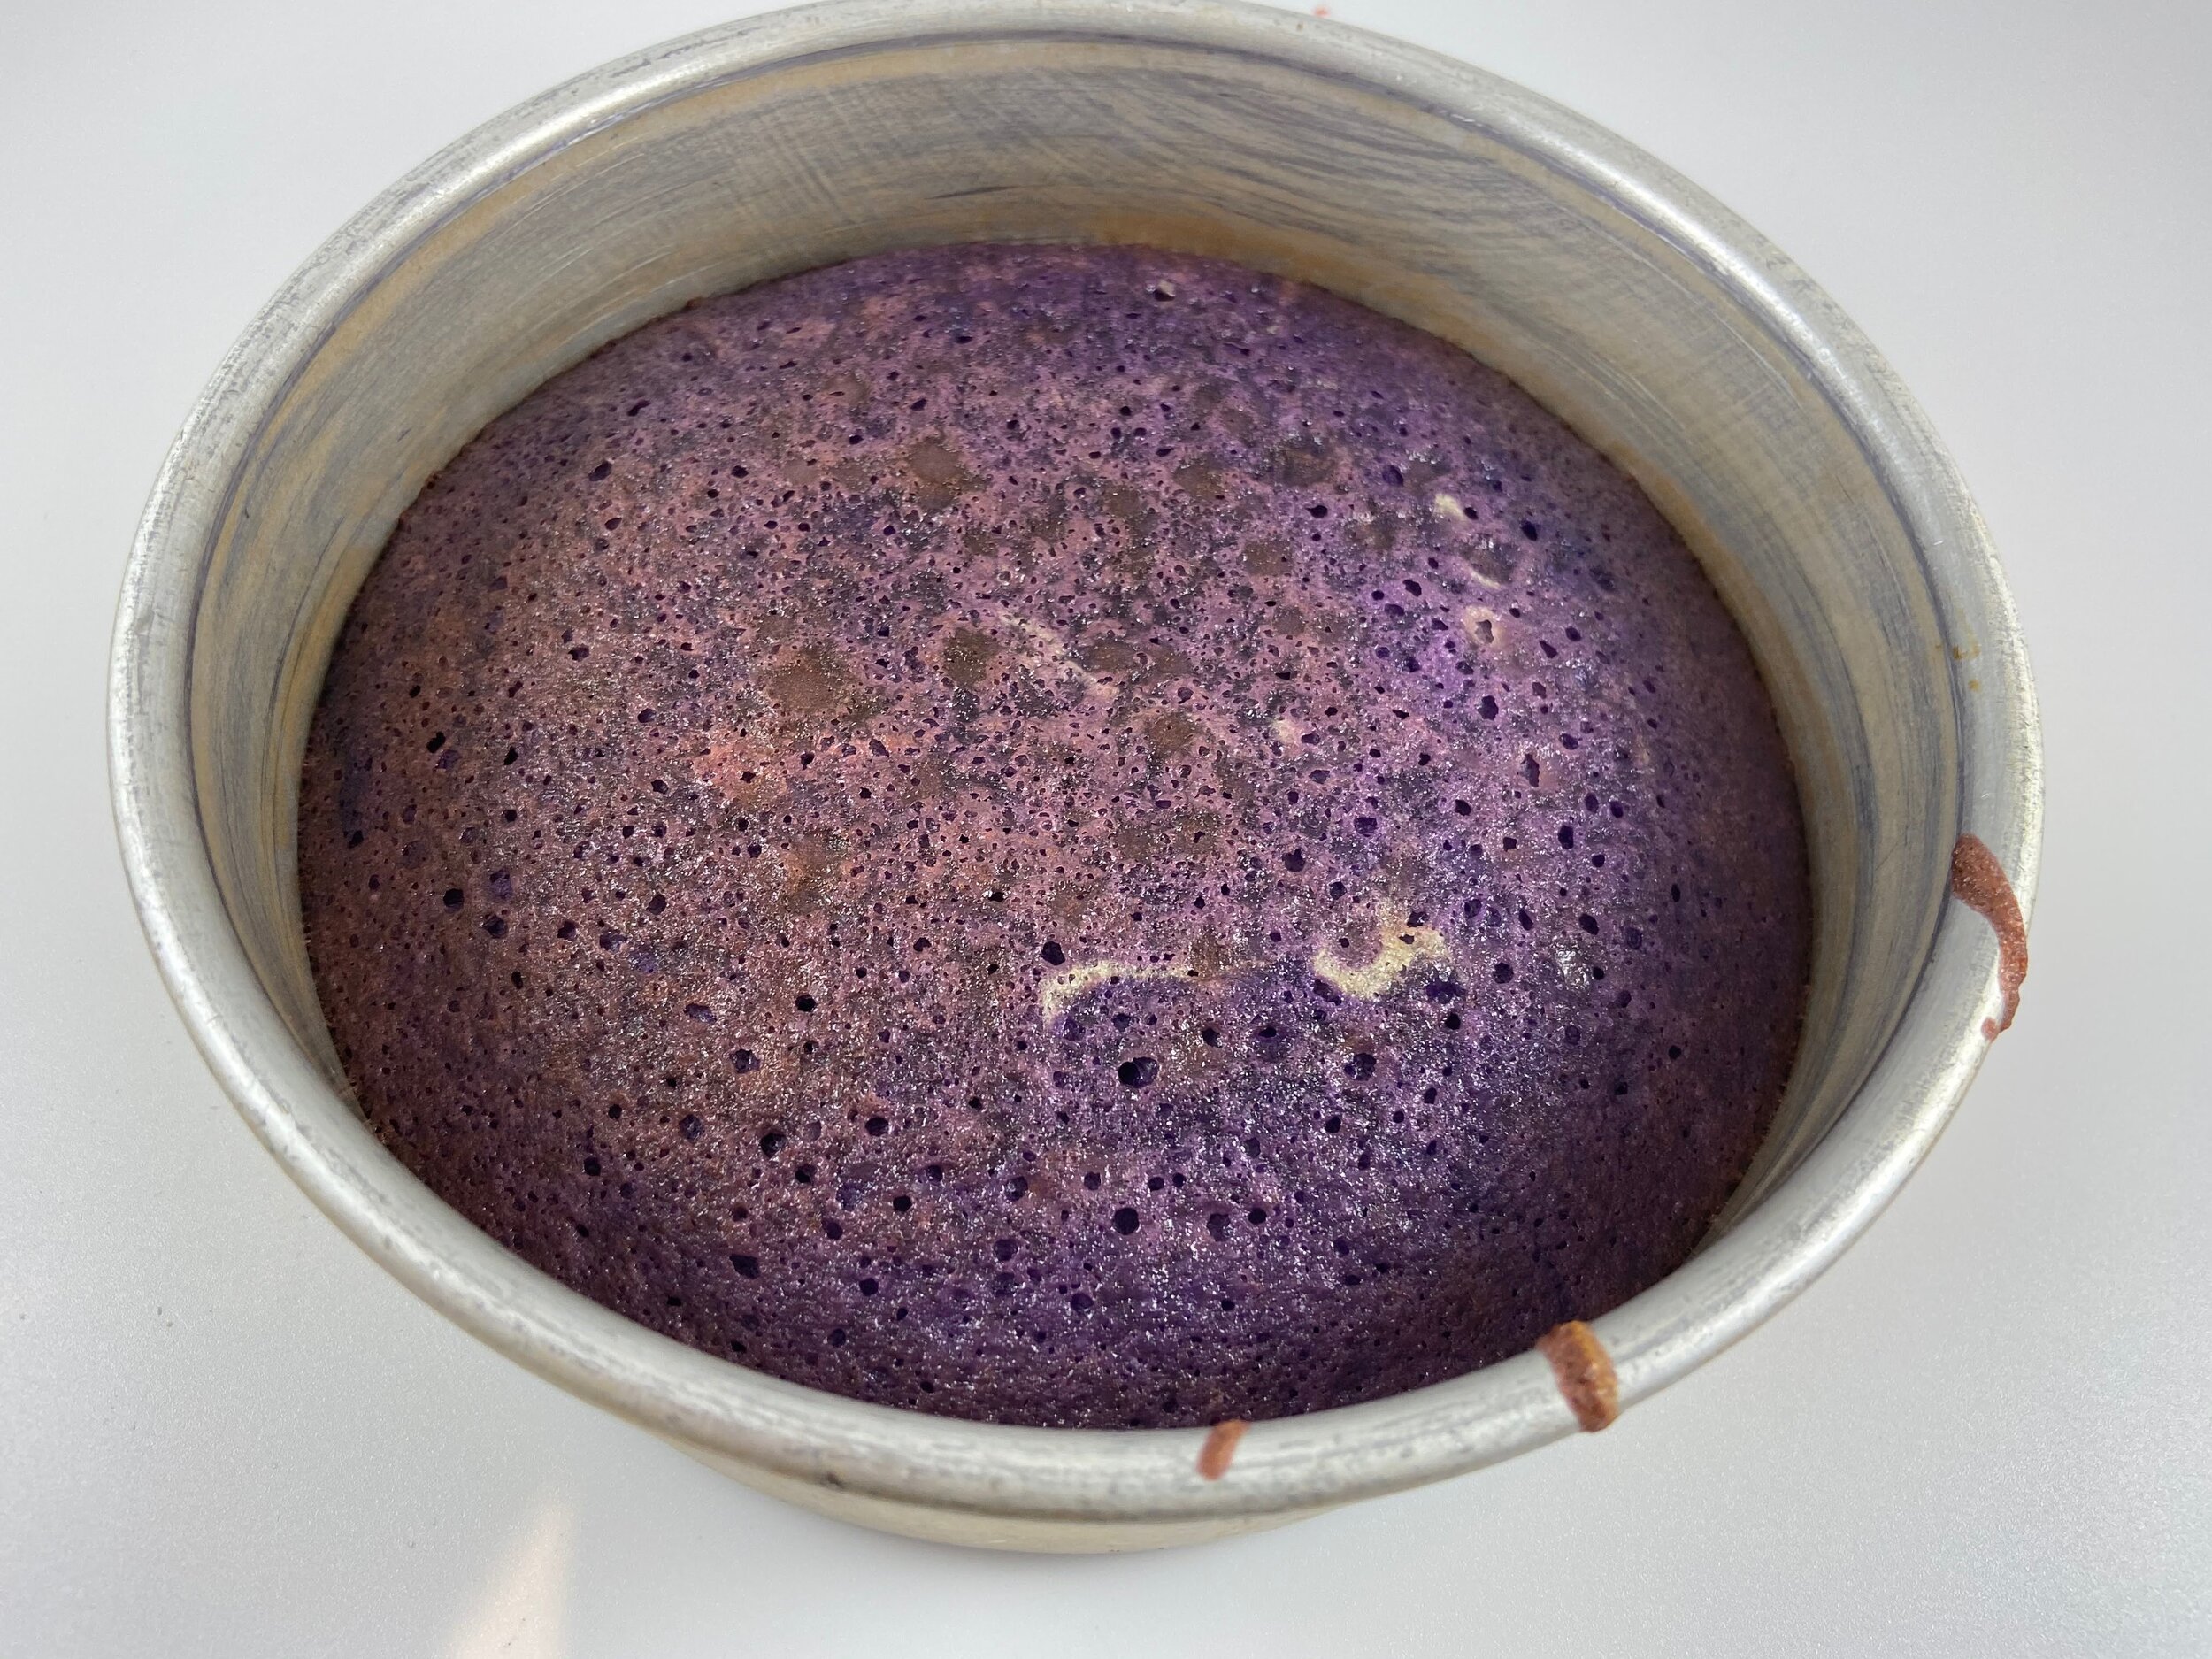
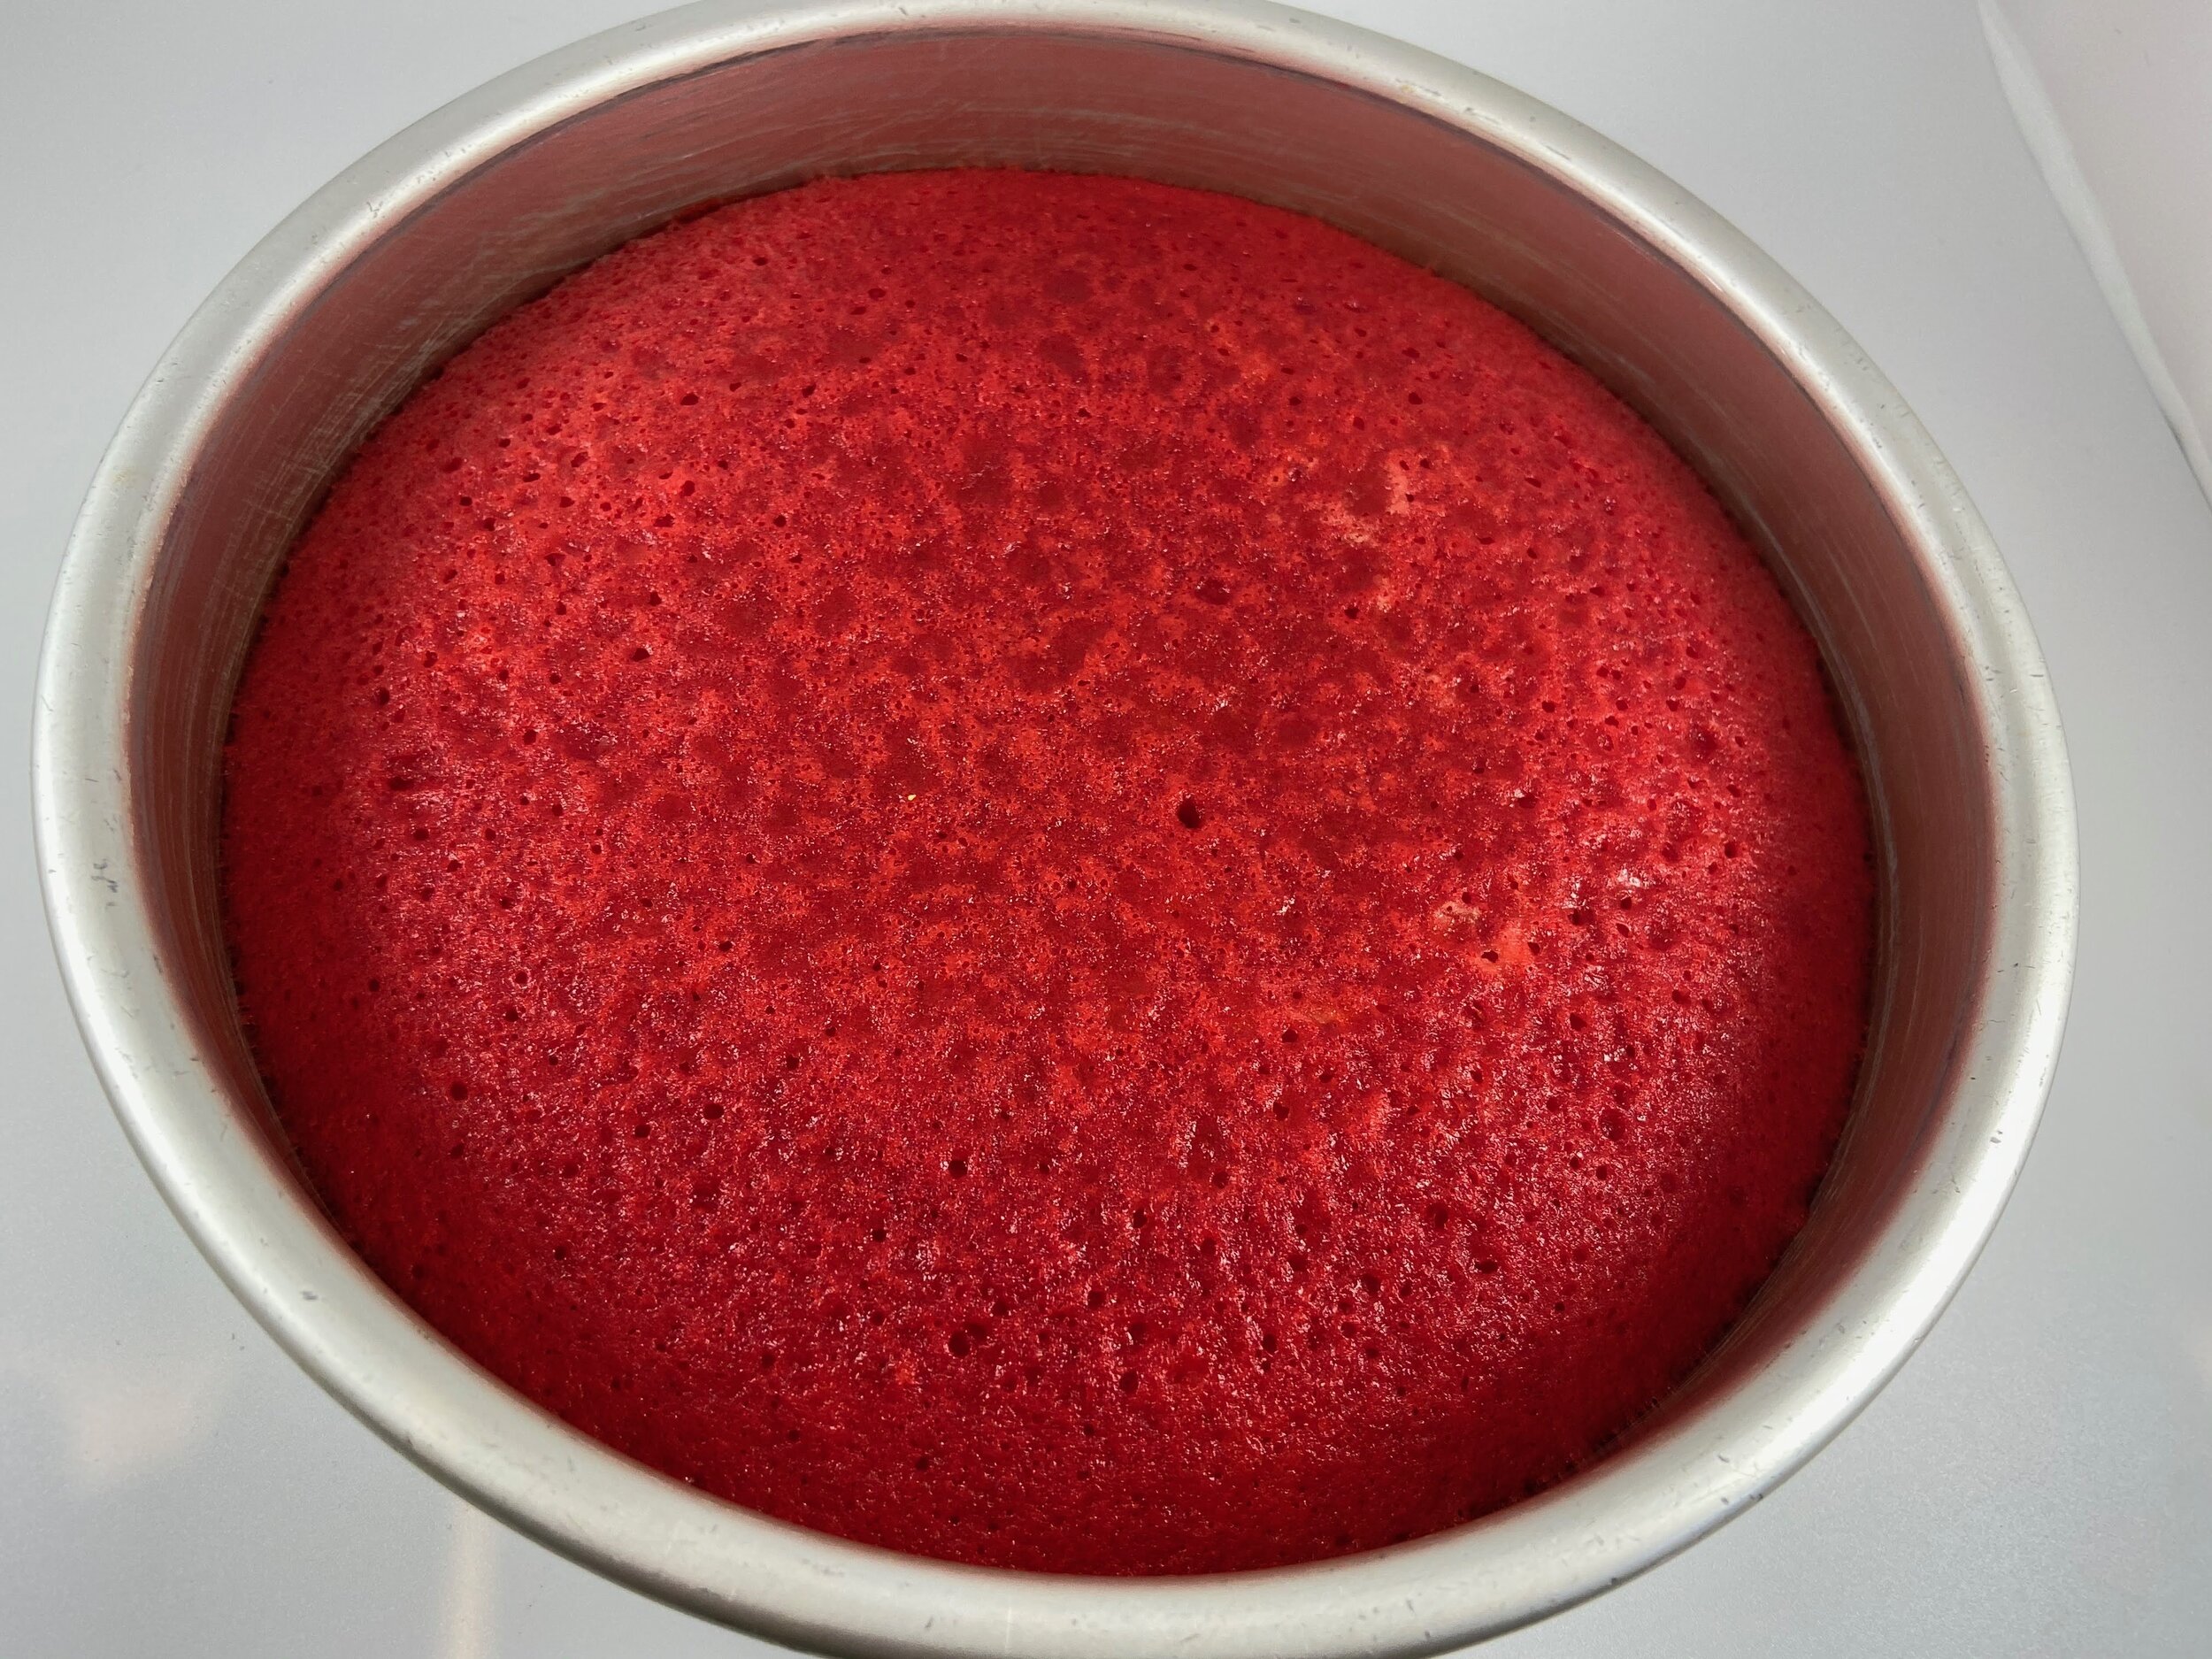
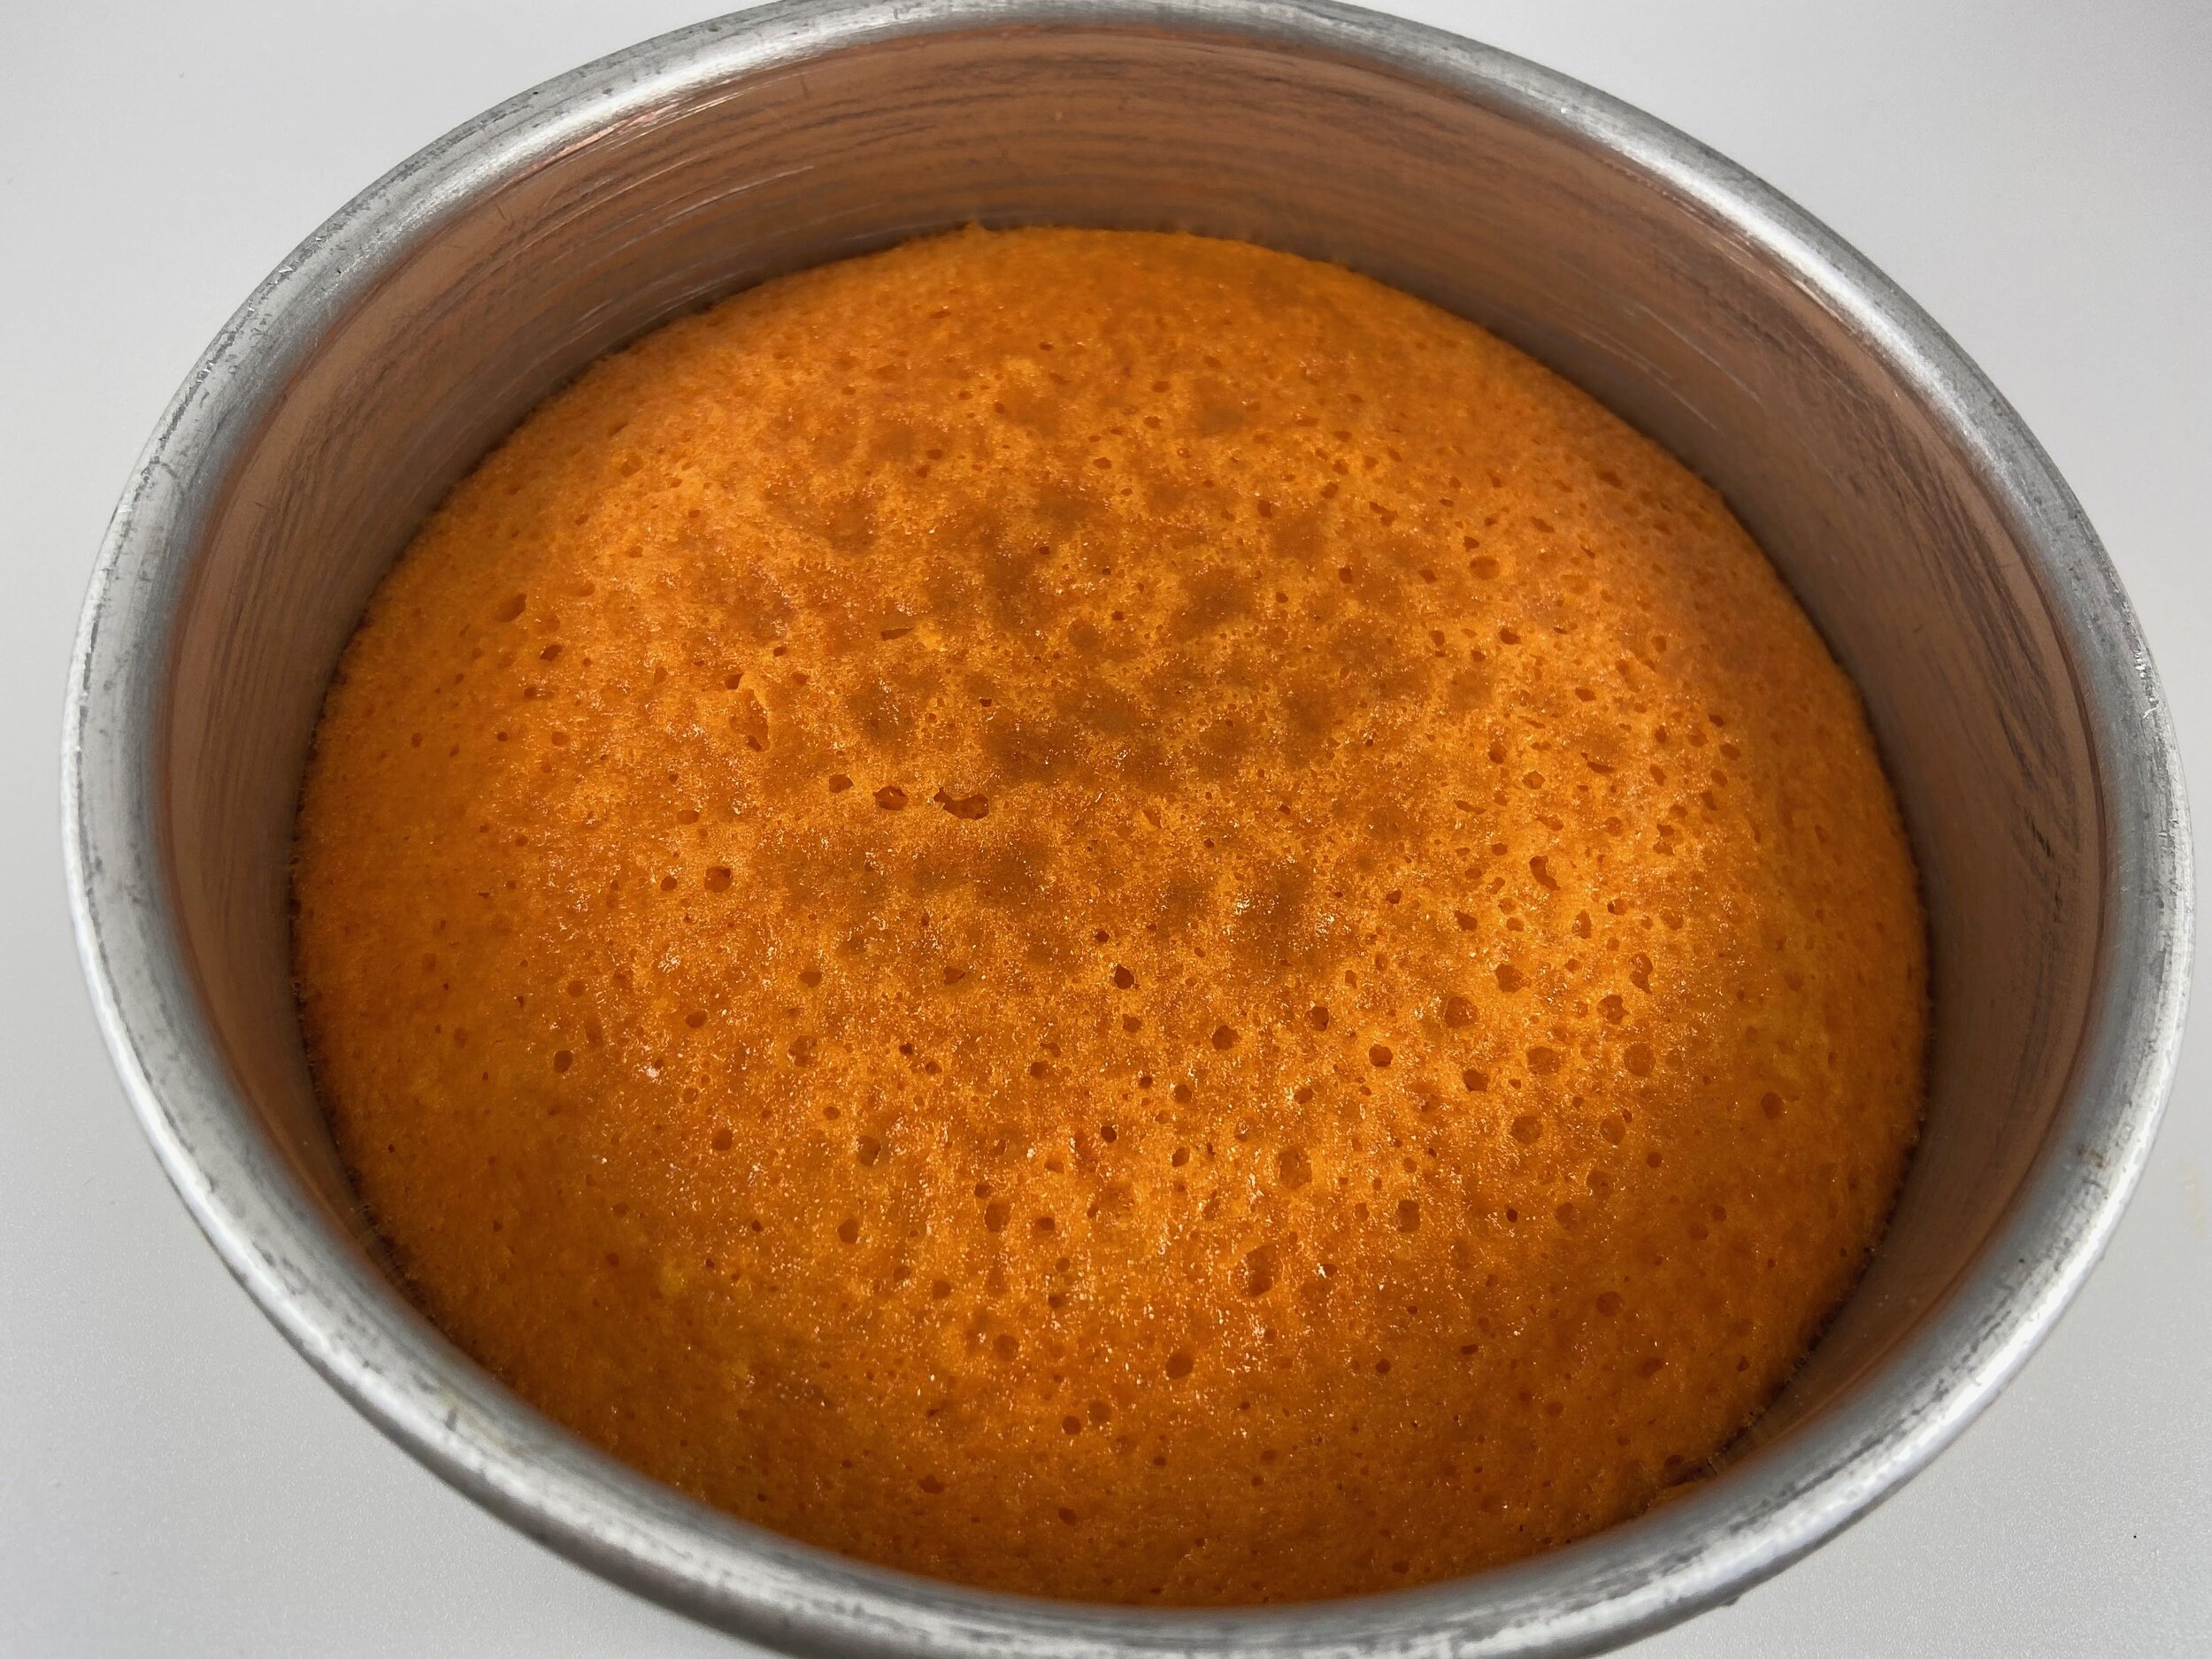
First, bake your cake layers. I started with a double recipe of vanilla cake to bake a tiered cake. After making the batter, I divided it up evenly between the cake pans, coloring each one as I went. I used three 8” pans for the bottom tier and three 6” pans for the top tier.


Once your cakes are baked, let them cool completely in the pans before you turn them out and assemble your Troll cake.
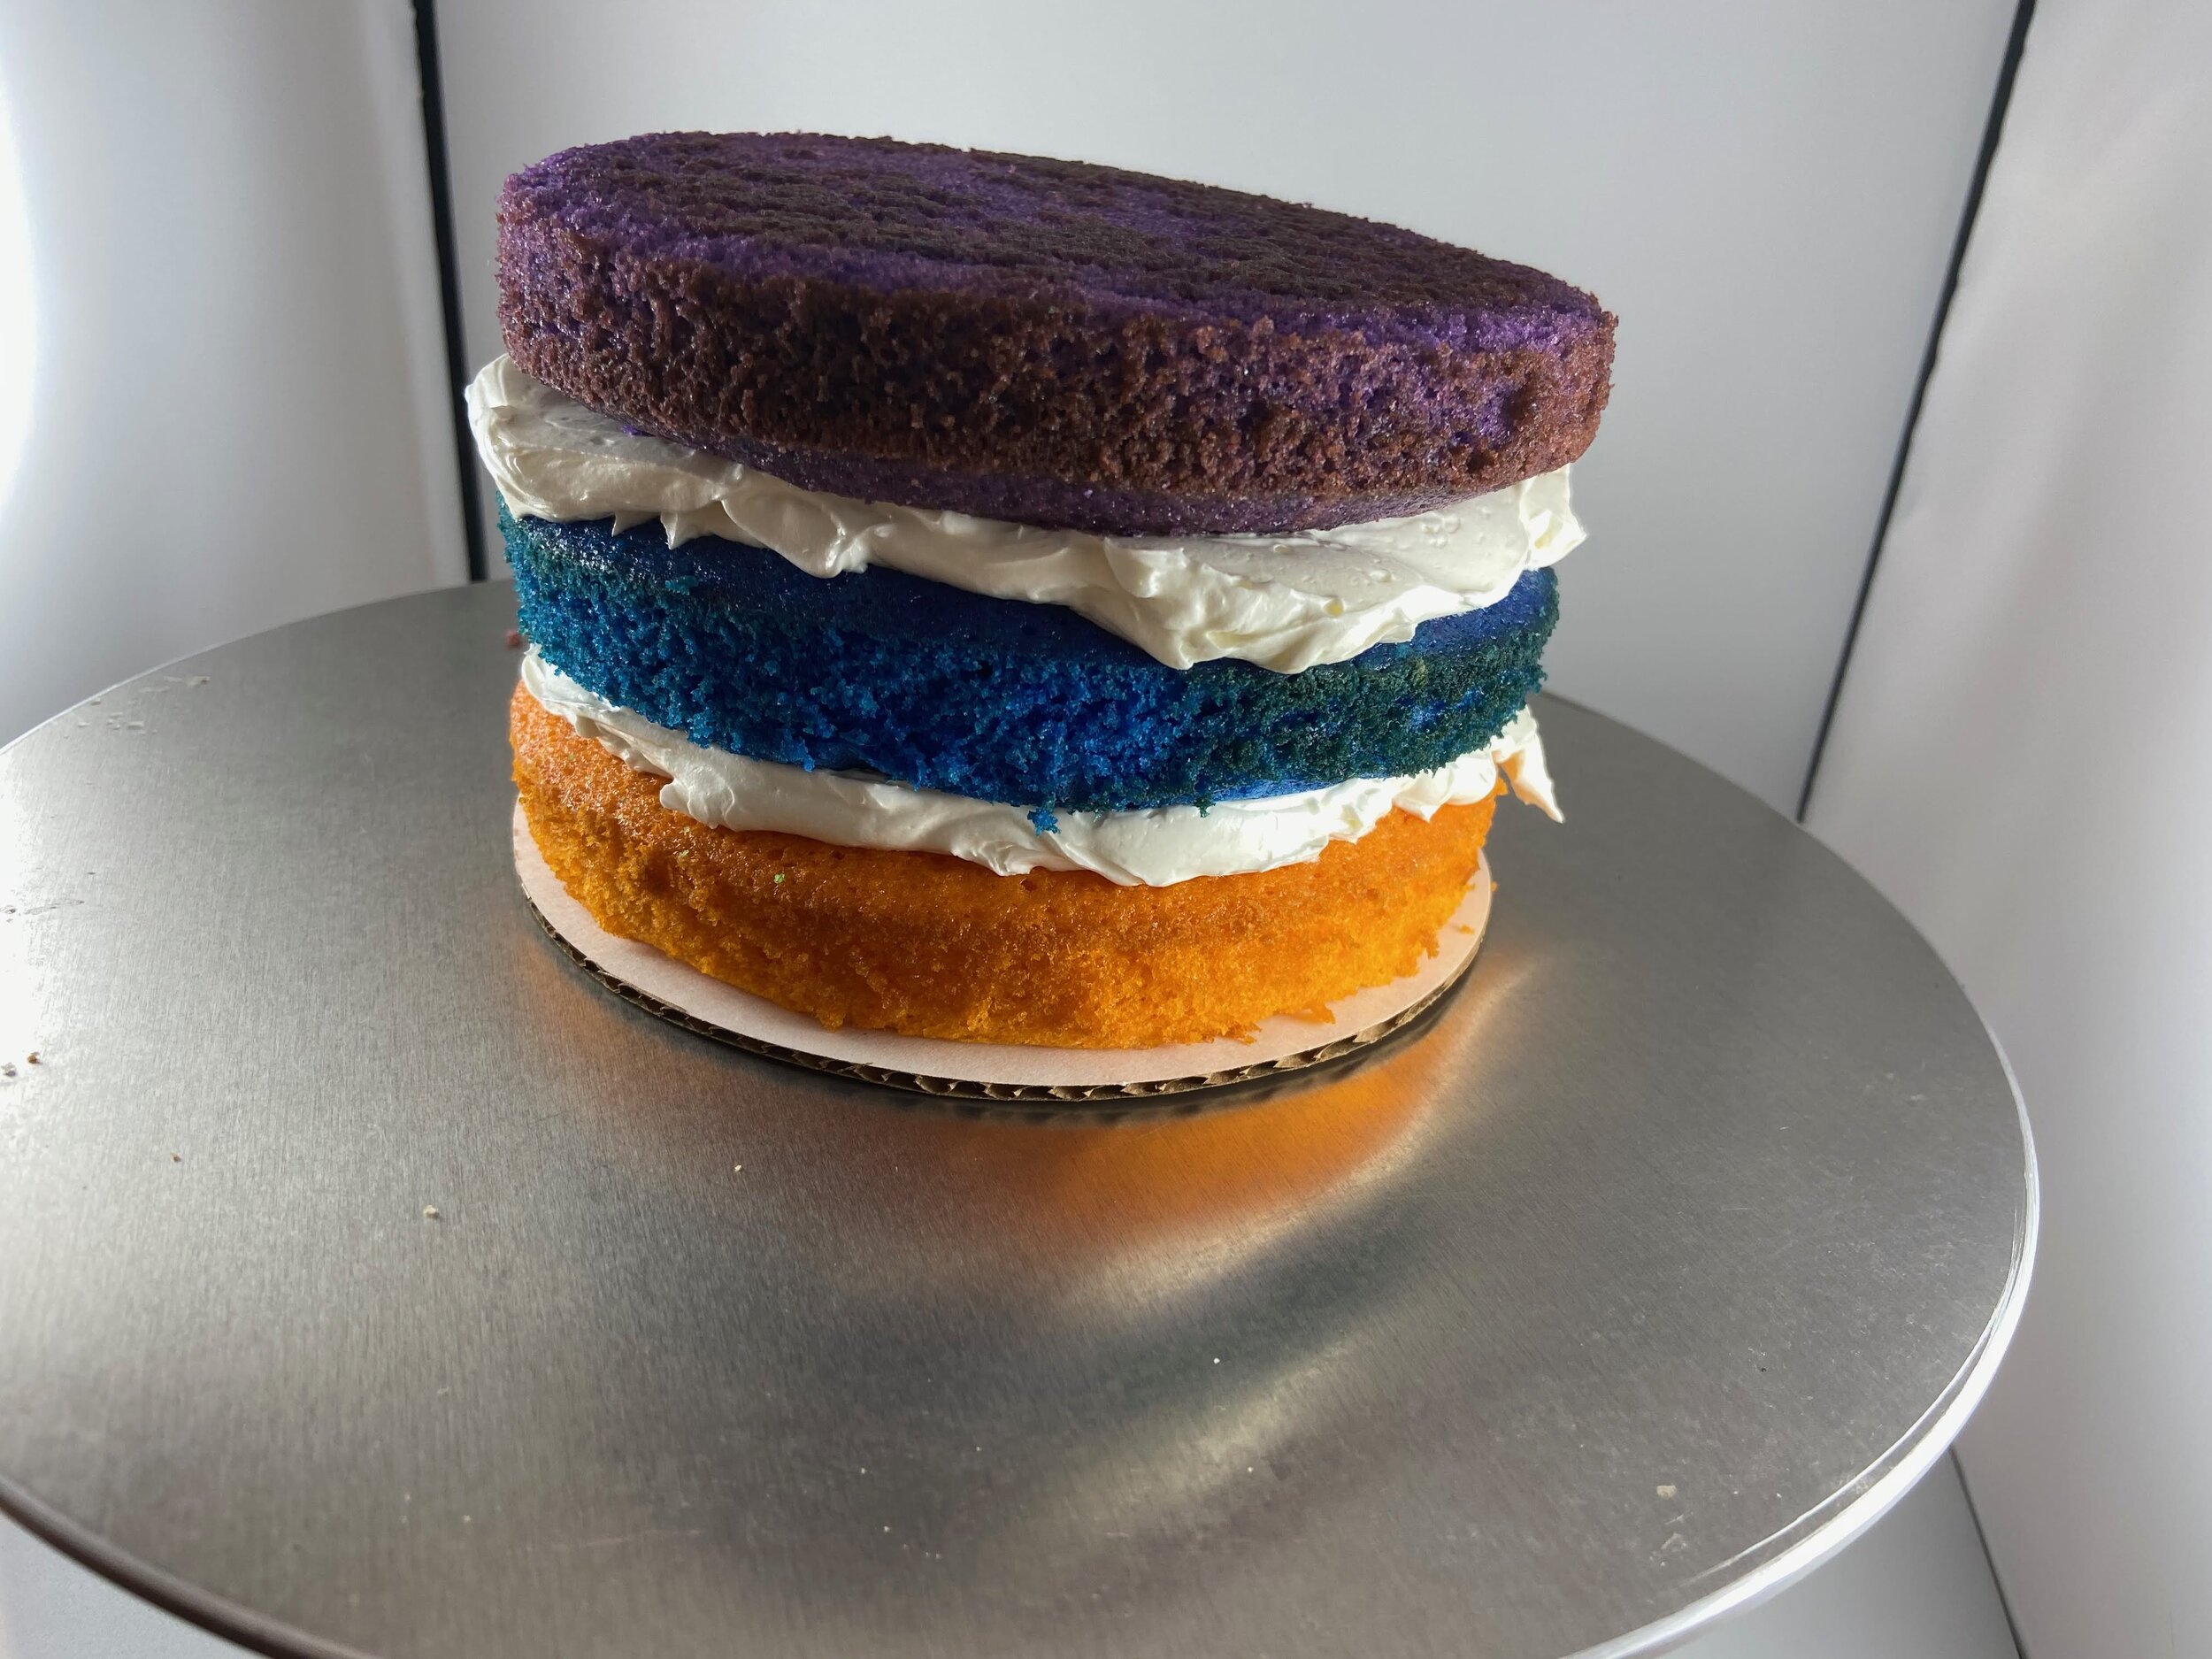
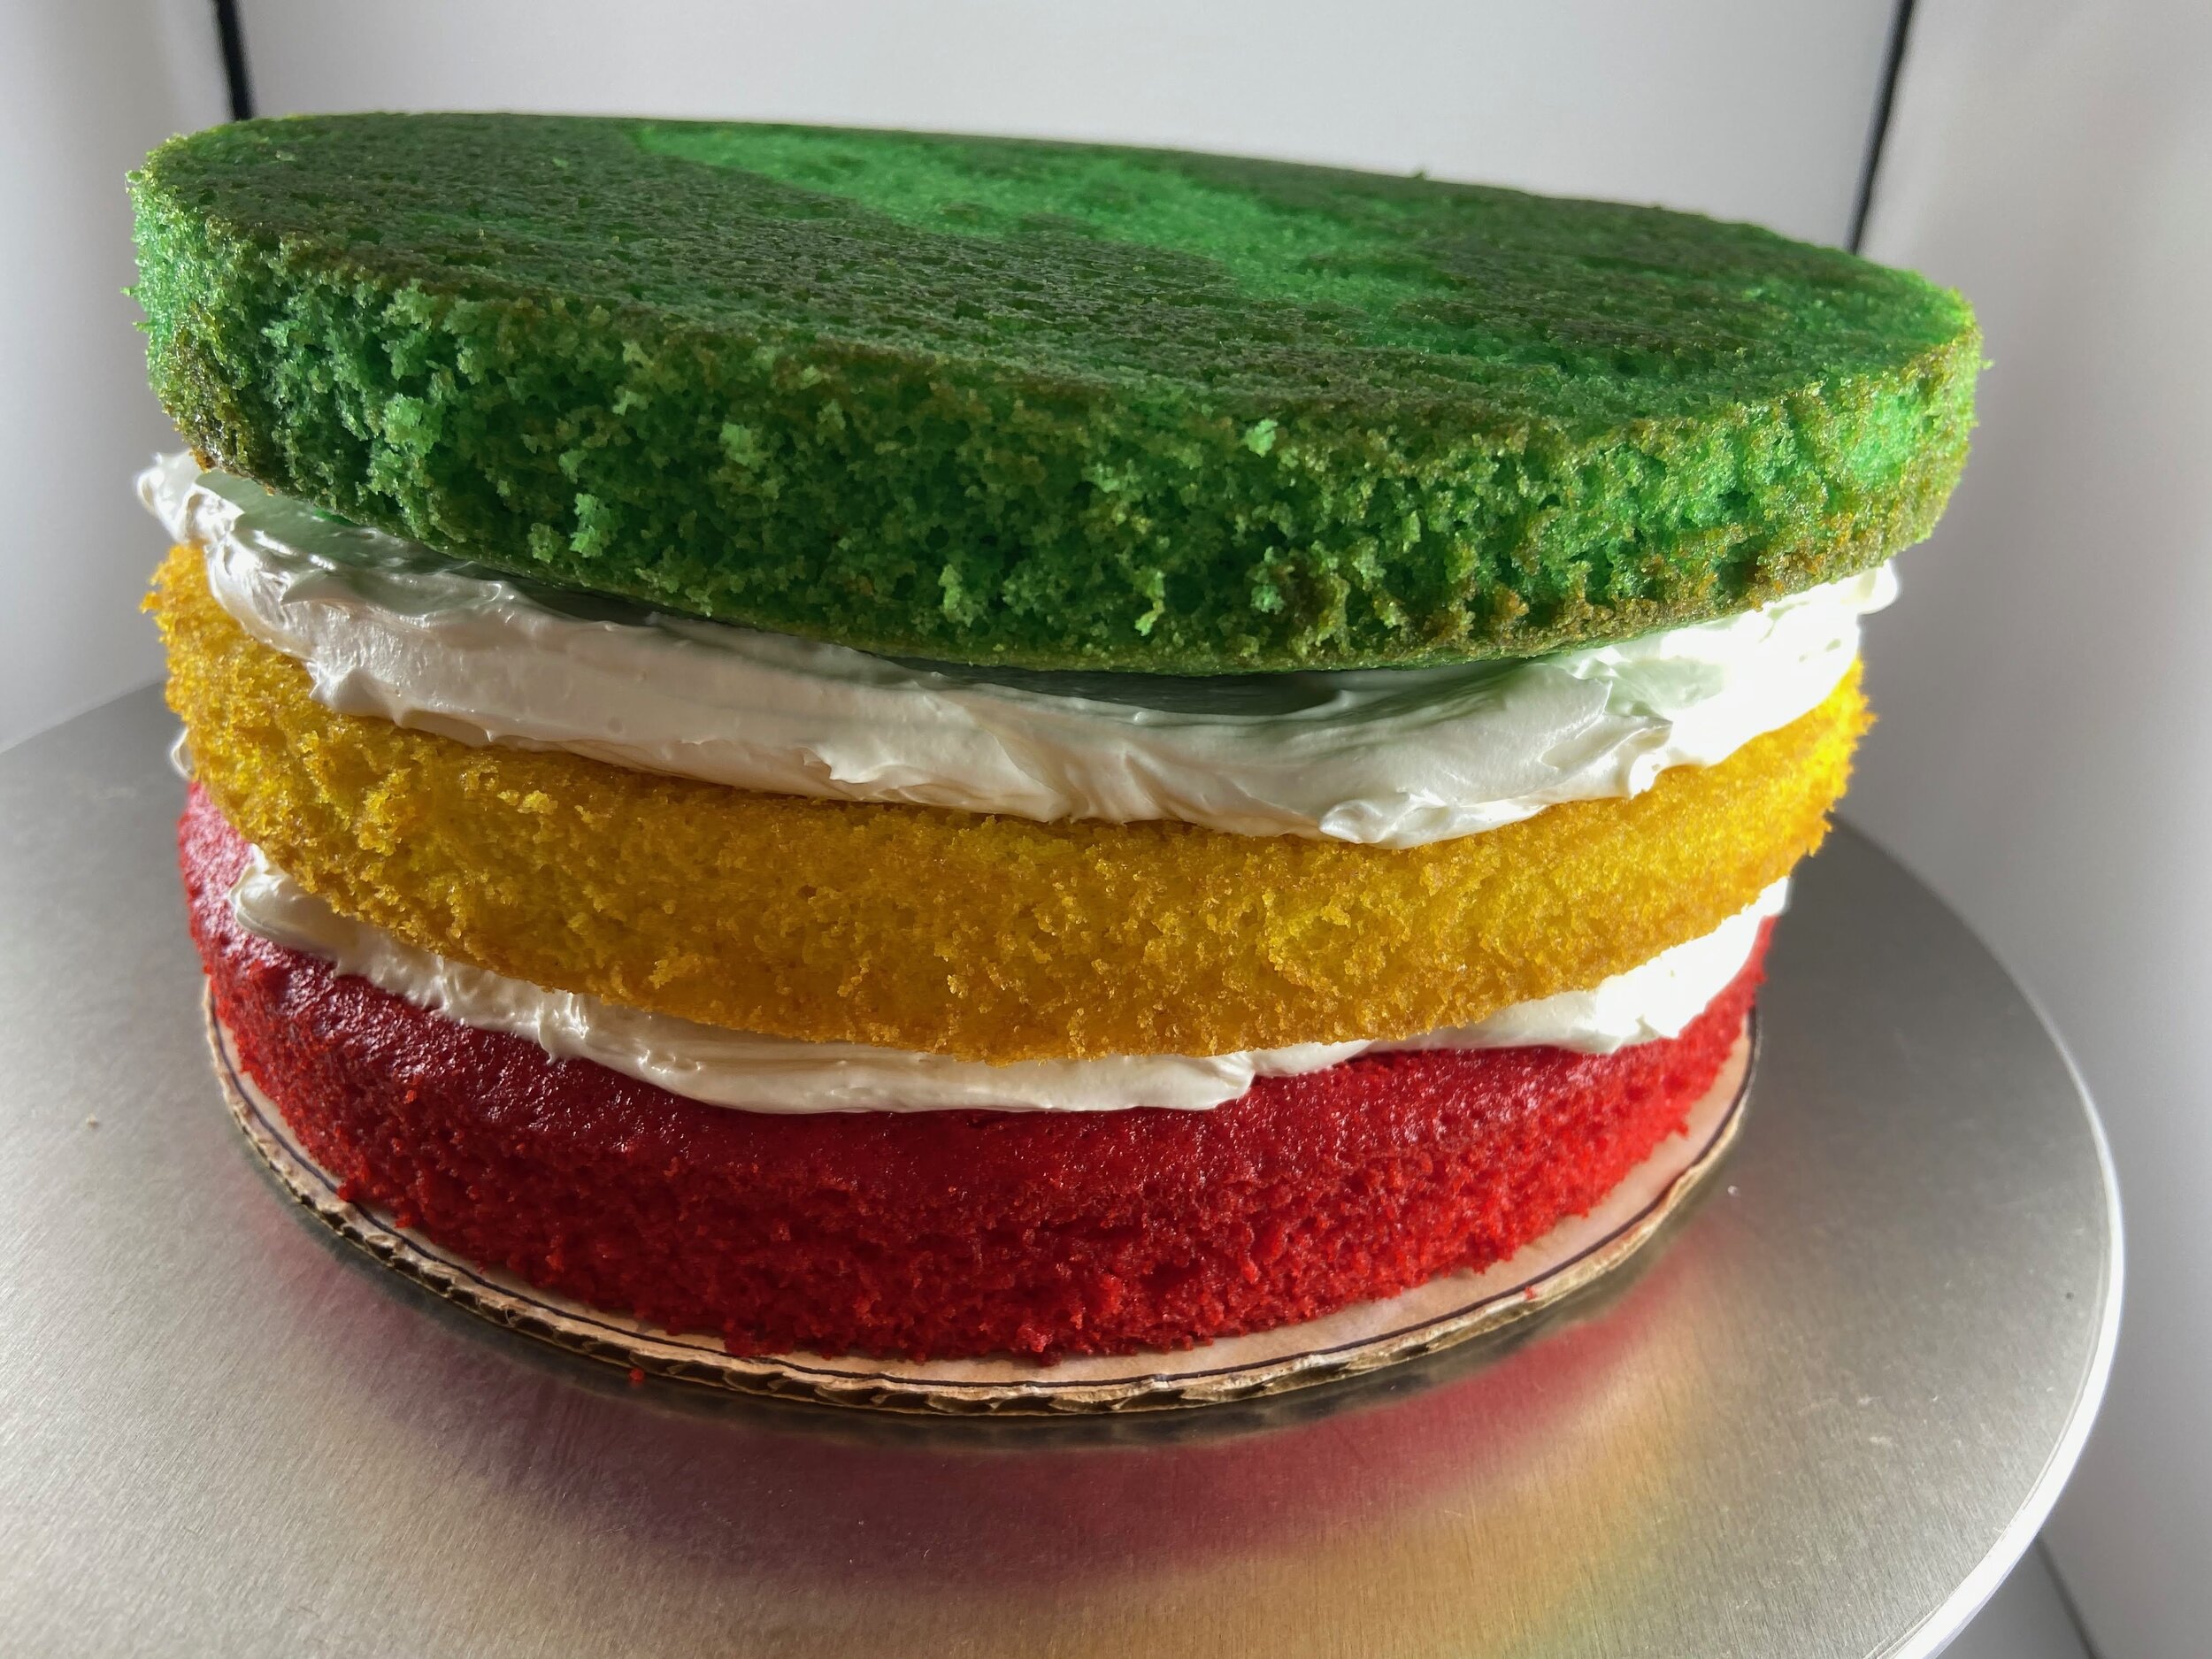
After you have your cakes all ready, start with your 8” cakes and layer the 3 of them together with buttercream frosting. You can follow the colors of the rainbow in order OR you can create your own color arrangement for your Troll cake. I admit that I forgot to have a color plan for the layers. I knew the kids wanted the top to have purple and blue, but I didn’t think about the rest of the order!
Once you have layered your cakes, crumb coat them and allow them to harden up for a long time. This will allow you to cut the middle out easily with a biscuit cutter so you can put candy in as a surprise

Once you have your cakes chilled, you will want to use a set of biscuit cutters to cut out the middle of your cakes for the surprise sprinkle layer in your Troll cake!

Use your biscuit cutter to cut out the middle.

Cut cake for treasure!
Add your sprinkles and candy to the middle once you cut out the cake with your biscuit cutter. Make sure to chill the cake first for easier cutting.

Fill with candy
I used a mix of M&Ms, gold and silver sprinkles, sanding sugar and other colors of sprinkles. I filled both tiers with candy. Once I was done filling, I placed a thin layer of cake on top and then frosted over it.
Once you have your cakes prepared you can work on tiering the cakes and decorating. I used straws for support for this cake as it didn’t have to travel far. There are 4 straws holding the top tier on and then one dowel through the entire cake.

Support with straws
I used 4 straws inserted into the bottom tier to hold up the top tier. Then, I placed the top tier on the prepared bottom tier and secured the two tiers together with a wooden dowel.